 EN

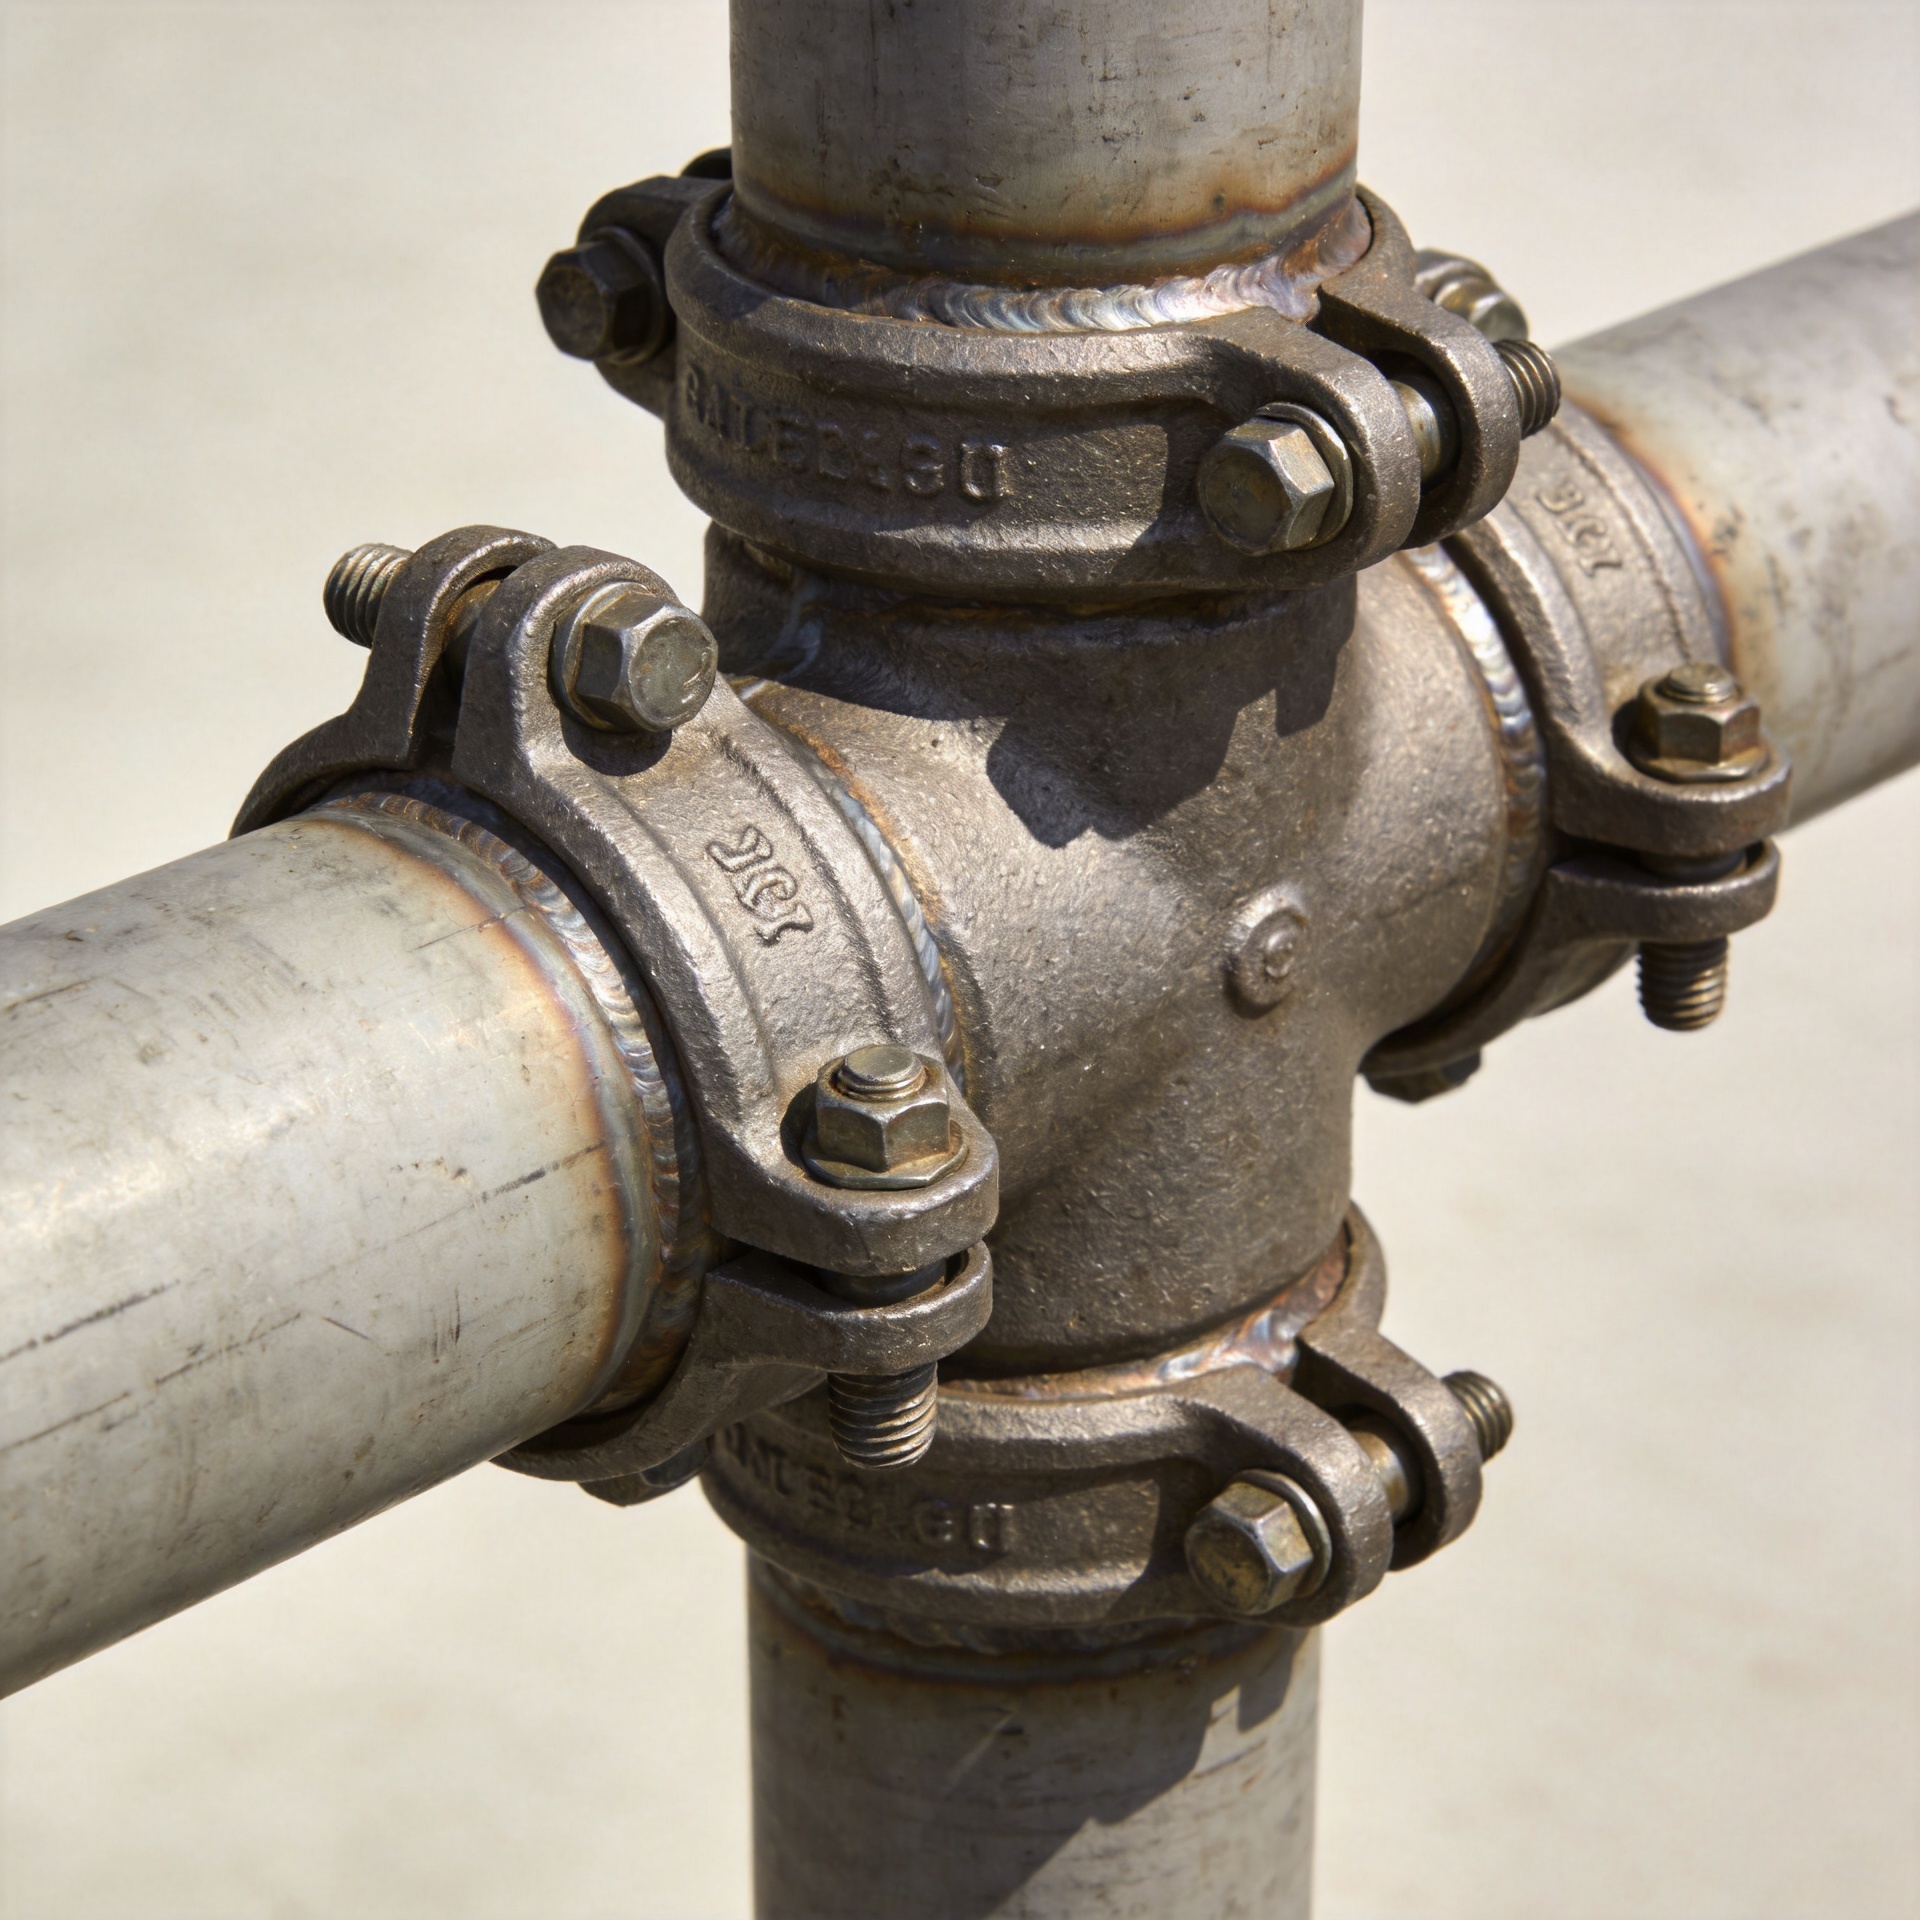
How to Address Stud Corrosion in Outdoor Process Equipment Joints
Outdoor process equipment joints live with rain, condensation, washdown, airborne salts, and temperature cycling. When corrosion appears on Studs, the visible rust is often only the first clue. A joint may also be losing preload, trapping moisture beneath a nut, or pairing metals that behave differently when wet. The practical response is not simply to replace one corroded fastener. It is to identify the attack mechanism, assess the joint safely, and specify a repair that suits the actual service environment.
For maintenance teams, Studs deserve a joint-level review because threaded engagement, gasket compression, and nut condition all affect whether a repaired connection will remain serviceable. The following field-oriented approach applies to flanges, valve connections, supports, skids, and other outdoor bolted assemblies.
Start by identifying where the corrosion is concentrated
Photograph the joint before cleaning it. Note whether the damage is spread evenly along exposed threads or concentrated under washers, at the nut-to-flange contact zone, inside a flange gap, or on one side facing prevailing weather. Uniform red-brown corrosion often points to coating loss and repeated wetting. Localized pits, staining around a crevice, or severe damage beside another metal call for a closer look at trapped electrolyte and galvanic effects.
A threaded stud can look acceptable above the nut while losing section or thread form inside the joint. Remove only when the equipment isolation, pressure boundary, and maintenance procedure allow it. During disassembly, record turning resistance, thread damage, nut seizure, gasket condition, and whether water or deposits are present in the joint. These observations guide the corrective action more reliably than surface appearance alone.
Make the joint safe before deciding on reuse
Do not retighten a visibly degraded connection by feel. Confirm the equipment owner’s isolation plan, then compare the fastener condition with the drawing, maintenance standard, and required bolting specification. If threads are rounded, deeply pitted, stretched, or seized, replacement is usually the more controlled option. Clean, sound fasteners may still require dimensional and material verification before reuse.
Check both the stud and the mating hardware. A corroded nut can damage otherwise usable threads during removal. Washers may hide crevice deposits, and a damaged gasket face can lead to leakage that keeps the joint wet. Treat the assembly as a system: Studs, nuts, washers, gasket, flange coating, drainage path, and nearby materials all influence the result.
Match the material to the exposure, not only the strength grade
Material selection begins with temperature, pressure, fluid leakage potential, chloride exposure, cleaning chemicals, and the required mechanical properties. ASTM A193 Grade B7 is commonly specified for industrial high-temperature or high-pressure bolting, but it is not a universal answer for exposed, wet service. In a corrosive outdoor location, the material and any surface treatment need to be evaluated against the site conditions and the project specification.
Stainless options may suit some environments, but “stainless” is not a single performance level. Chloride-bearing deposits, stagnant water, and crevices can challenge passive surfaces. Where a double ended stud joins components made from different alloys, ask whether the combination creates a galvanic couple when rainwater or condensate bridges the contact area. Insulating details, compatible washers, and a reviewed coating system can be relevant when the design permits them.
Coatings also need realistic handling expectations. Damage from wrenching, installation, or repeated disassembly can expose small areas of base metal. Specify application, touch-up, lubrication, and inspection requirements together rather than treating the coating as a stand-alone fix.
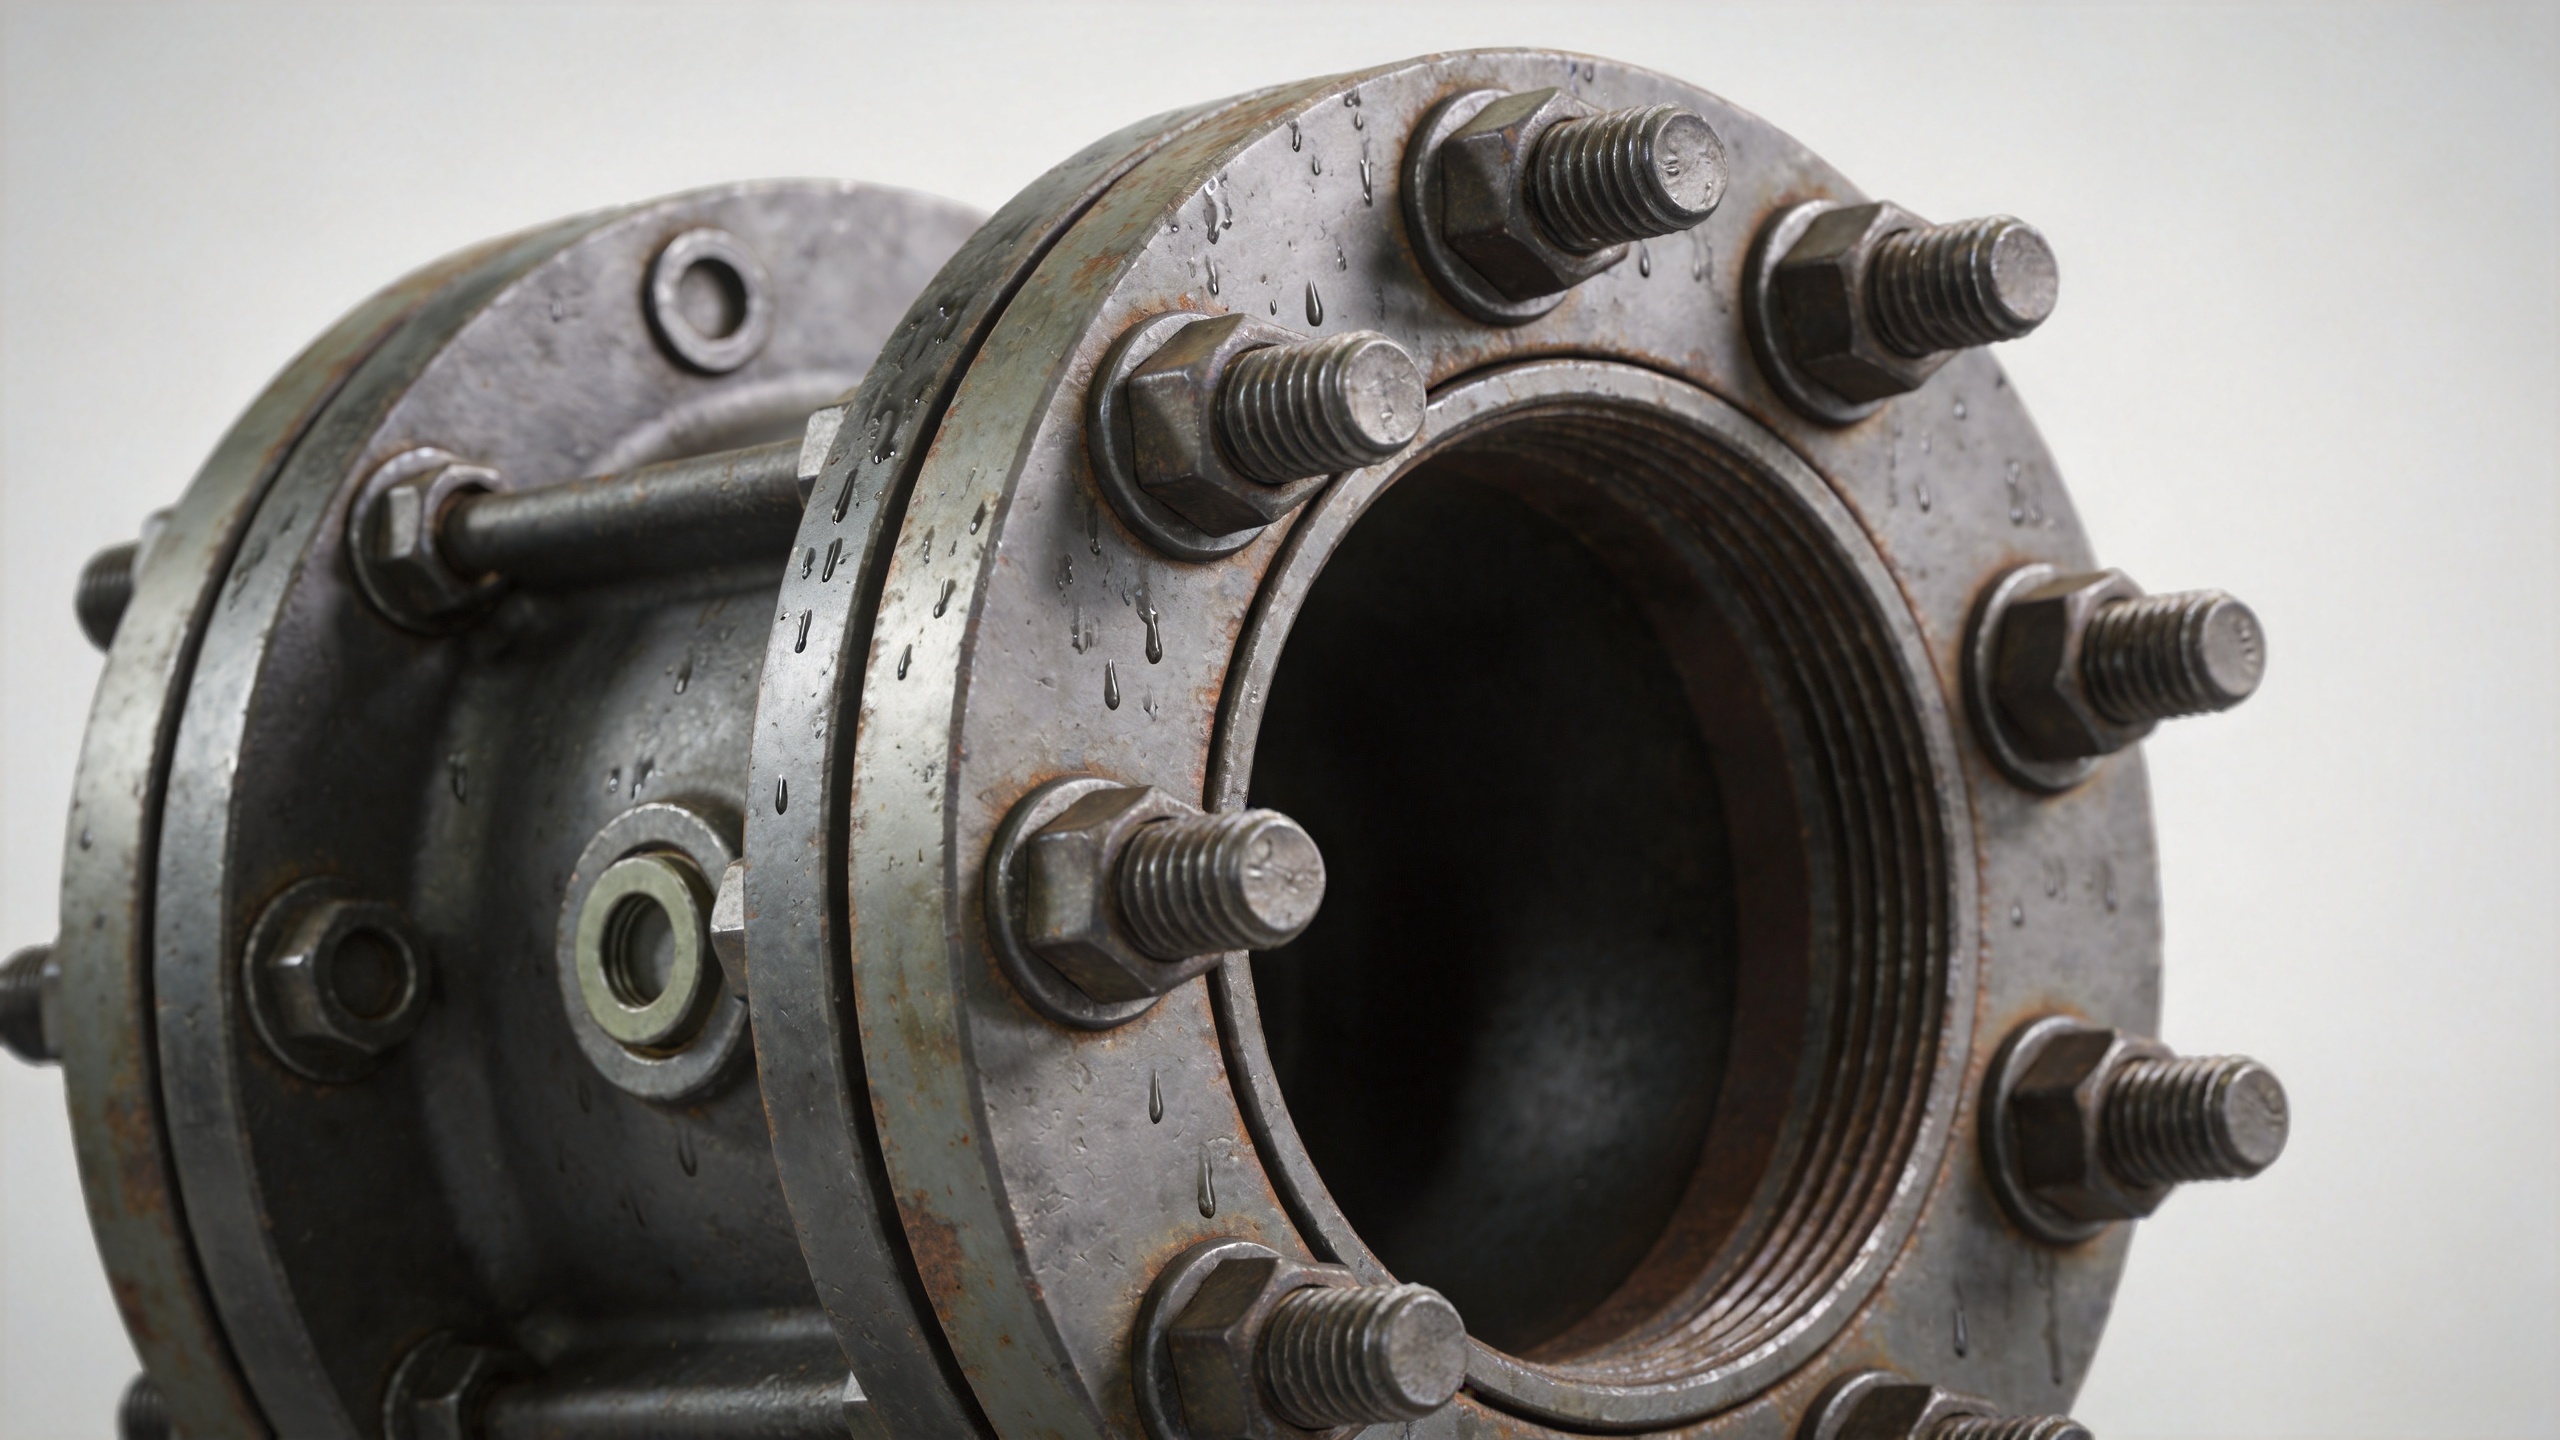
Remove the conditions that keep a joint wet
Outdoor corrosion is frequently accelerated by poor drainage. Inspect whether a horizontal flange traps water under a protective cover, whether insulation termination lets moisture reach the joint, or whether deposits form a wet pack around the nut and exposed threads. Correcting runoff paths, restoring damaged paint near the contact area, and keeping drainage holes clear can lower time-of-wetness around Studs.
Pay particular attention to crevices. A narrow gap can retain liquid after the rest of the equipment appears dry. Salt or process deposits increase the electrolyte concentration as water evaporates. Clean the joint faces as the maintenance plan allows, then make sure any sealant, cover, or wrap does not create a new water trap. The goal is a detail that sheds water and can be inspected rather than one that merely conceals the fastener.
Use installation controls that protect preload and threads
Corrosion and preload loss can reinforce each other. Once a joint relaxes, moisture enters more easily; once threads roughen, controlled tightening becomes harder. Use the specified tightening method, sequence, lubricant, and target values for the assembly. Do not substitute a generic torque because friction varies significantly with coating, lubrication, thread condition, and nut type.
Before installing a replacement stud bolt, verify length, thread engagement, nut compatibility, and the specified material designation. Keep threads clean and use only the approved lubricant or anti-seize product where the joint procedure calls for it. For a welding stud used in an outdoor support or accessory application, review weld integrity, base-metal coating restoration, and the water-shedding detail around the attachment. Welded and threaded fastening methods have different failure paths and should not be assessed with the same checklist.
Build inspection into the corrosion-control plan
A useful inspection interval reflects the exposure rather than a fixed calendar alone. Coastal sites, chemical splash zones, cooling-water areas, and locations beneath leaking valves usually need more frequent observation than sheltered, clean outdoor equipment. At each inspection, look for coating breakdown, product buildup, rust staining, pitting, loose hardware, standing water, and changes in gasket leakage.
Maintain a short record for recurring joints: location, fastener specification, exposure notes, observed damage, action taken, and next review date. Patterns become visible quickly. If one orientation, material pair, or equipment zone repeatedly corrodes, the remedy may be a design or drainage change rather than another like-for-like replacement.
Field checklist for recurring stud corrosion
Use a consistent inspection sheet so that observations from different shifts can be compared. List the affected Studs, their location, the exposed length, the nut condition, the washer condition, and the visible moisture path. Mark whether the Studs are carbon steel, stainless, coated, or of another specified material. A threaded stud at a valve flange may face a different electrolyte and temperature cycle from a threaded stud on a weather-exposed support.
For each joint, ask whether the Studs show uniform loss, localized pits, thread damage, or staining from a crevice. Inspect both ends of a double ended stud; the protected end can retain deposits even when the exposed end looks clean. Record whether a double ended stud was removed without galling and whether replacement nuts ran freely on the threads. These details help distinguish an installation issue from an exposure issue.
When the assembly contains a stud bolt, confirm the specified length, engagement, material designation, finish, and tightening procedure before installation. A replacement stud bolt should be assessed with its mating nut and washer rather than as an isolated part. Do not use a welding stud as a direct substitute for a threaded connection. Where a welding stud is already part of the design, inspect its attachment, surrounding coating, and drainage detail separately.
After repair, revisit the same Studs after an exposure cycle. Compare the condition of the Studs with the record made at installation. If corrosion returns, review water entry, deposits, material pairing, and preload together. This repeatable evidence lets the maintenance team update the detail for Studs based on actual service rather than assumption.
A practical repair sequence
- Isolate and assess the equipment under the applicable site procedure.
- Document corrosion location, extent, deposits, and adjacent-material condition.
- Disassemble only when authorized; inspect threads, nuts, washers, gasket surfaces, and trapped moisture.
- Replace damaged hardware with the specified grade, material, finish, and dimensions.
- Address drainage, coating damage, crevice-forming details, and material-pair compatibility.
- Reassemble using the approved tightening method and record the work.
- Schedule a follow-up inspection based on actual exposure severity.
Conclusion
Corrosion on Studs in outdoor process equipment joints is a maintenance signal, not just a cosmetic issue. The durable response combines condition assessment, exposure-appropriate material selection, moisture management, controlled installation, and repeat inspection. Qingdao Jeekuu Hardware Products Co.,Ltd. supports industrial buyers with custom fastener discussions for applications where corrosion resistance, geometry, and export requirements must be considered together. Share the joint environment and specification details with your engineering or procurement team before finalizing a replacement.

