 EN


How to Reduce Screw Shear Failure in Furniture Frame Joints
A loose chair rail, a cracked cabinet corner, or a wobbly table apron is often blamed on a broken screw. In practice, the visible failure may be only the last event in a longer sequence: a joint shifts, wood fibers crush, a fastener bends, and the screw finally sees a sideways load it was not meant to carry alone. The practical goal is to keep the load path stable so the screw clamps and locates the joint instead of acting as a small beam.
As a fastener-selection engineer, I start with load direction, wood condition, and joint geometry before selecting a screw. That order matters in furniture frames, where seasonal movement, repeated racking, and edge-grain fastening can change the demand on each fastener. This guide explains how to reduce screw shear failures without assuming that a higher-strength fastener fixes every joint.
First, identify what actually failed
True screw shear means the metal shank fractured across its diameter because force acted perpendicular to the shank. But many furniture failures are different: threads pull from end grain, a thin rail splits, the clearance hole pinches the shank, or a joint opens and lets the screw bend repeatedly. These mechanisms call for different corrections.
- Clean metal fracture near the joint line: investigate shear demand, diameter, unsupported gap, and fastener material.
- Threads torn from wood: increase effective thread engagement, change the grain orientation where feasible, or add a mechanical joint that carries load.
- Split rail or stile: review edge distance, pilot-hole diameter, and insertion torque.
- Loose joint with an intact screw: look for joint movement, glue-line problems, crushed fibers, or cyclic racking rather than replacing only the screw.
That distinction avoids a common mistake: choosing the largest screw that fits the hole. A larger fastener can remove too much wood from a narrow member and create a new splitting risk.
Design the joint so the screw is not the only load path
In a durable furniture frame, shoulders, housed joints, dowels, tenons, corner blocks, or well-fitted cleats should transfer much of the compression and racking load. The screw then supplies clamping force and retention. If two parts can slide before the fastener engages, the screw experiences bending and cyclic shear with every use.
Place the screw so the joint bears against a positive stop. In a chair corner, for example, a glued corner block can take compression while a diagonal fastener holds the block tight. In a face-frame connection, use a tight mechanical fit and let the screw draw the parts together; do not rely on threads alone to bridge a gap. When a joint carries a heavy cantilevered load, add a second fastener or a structural feature that shares the moment rather than simply lengthening one screw.
Match the fastener type to the material and assembly method
A wood screw is normally the logical choice when threads must grip solid wood. Its geometry is intended to form engagement in timber, although thread form, coating, point style, and shank proportion still vary by product. For a frame assembled around a metal bracket or threaded insert, a machine screw can be appropriate because the mating component supplies the internal thread; it is not a substitute for a wood screw driven directly into a rail.
A self tapping screw may simplify attachment into some thin metal components, but its behavior in wood depends on the specific design and pilot hole. Do not assume the label alone establishes a furniture-joint capacity. A hex screw head can provide tool engagement where access and torque control require it, yet a high-torque drive can split a narrow hardwood rail if the pilot hole is too small. Select head style for access, bearing area, and appearance after the load path and wood engagement are defined.
Use pilot holes to protect the wood and the screw
Pilot holes are not merely an assembly convenience. They reduce wedging stress, guide the screw on axis, and help preserve fibers that provide thread holding. A sound starting principle is to size the pilot hole close to the fastener’s root or shank diameter rather than its outside thread diameter. Dense hardwood generally needs a more generous pilot hole than softwood, while a clearance hole in the first member allows the screw to clamp the two parts together instead of threading both parts and holding them apart.
Published research on beech and oak has reported that pilot holes increased mean withdrawal force on transverse surfaces by roughly 30% and 7%, respectively. Those figures are not a universal rule for every species, screw, or frame design, but they illustrate why test assemblies are valuable. Make several sample joints from production-stock material, check for splitting and seating, and then confirm that the screw reaches the intended torque without stripping.
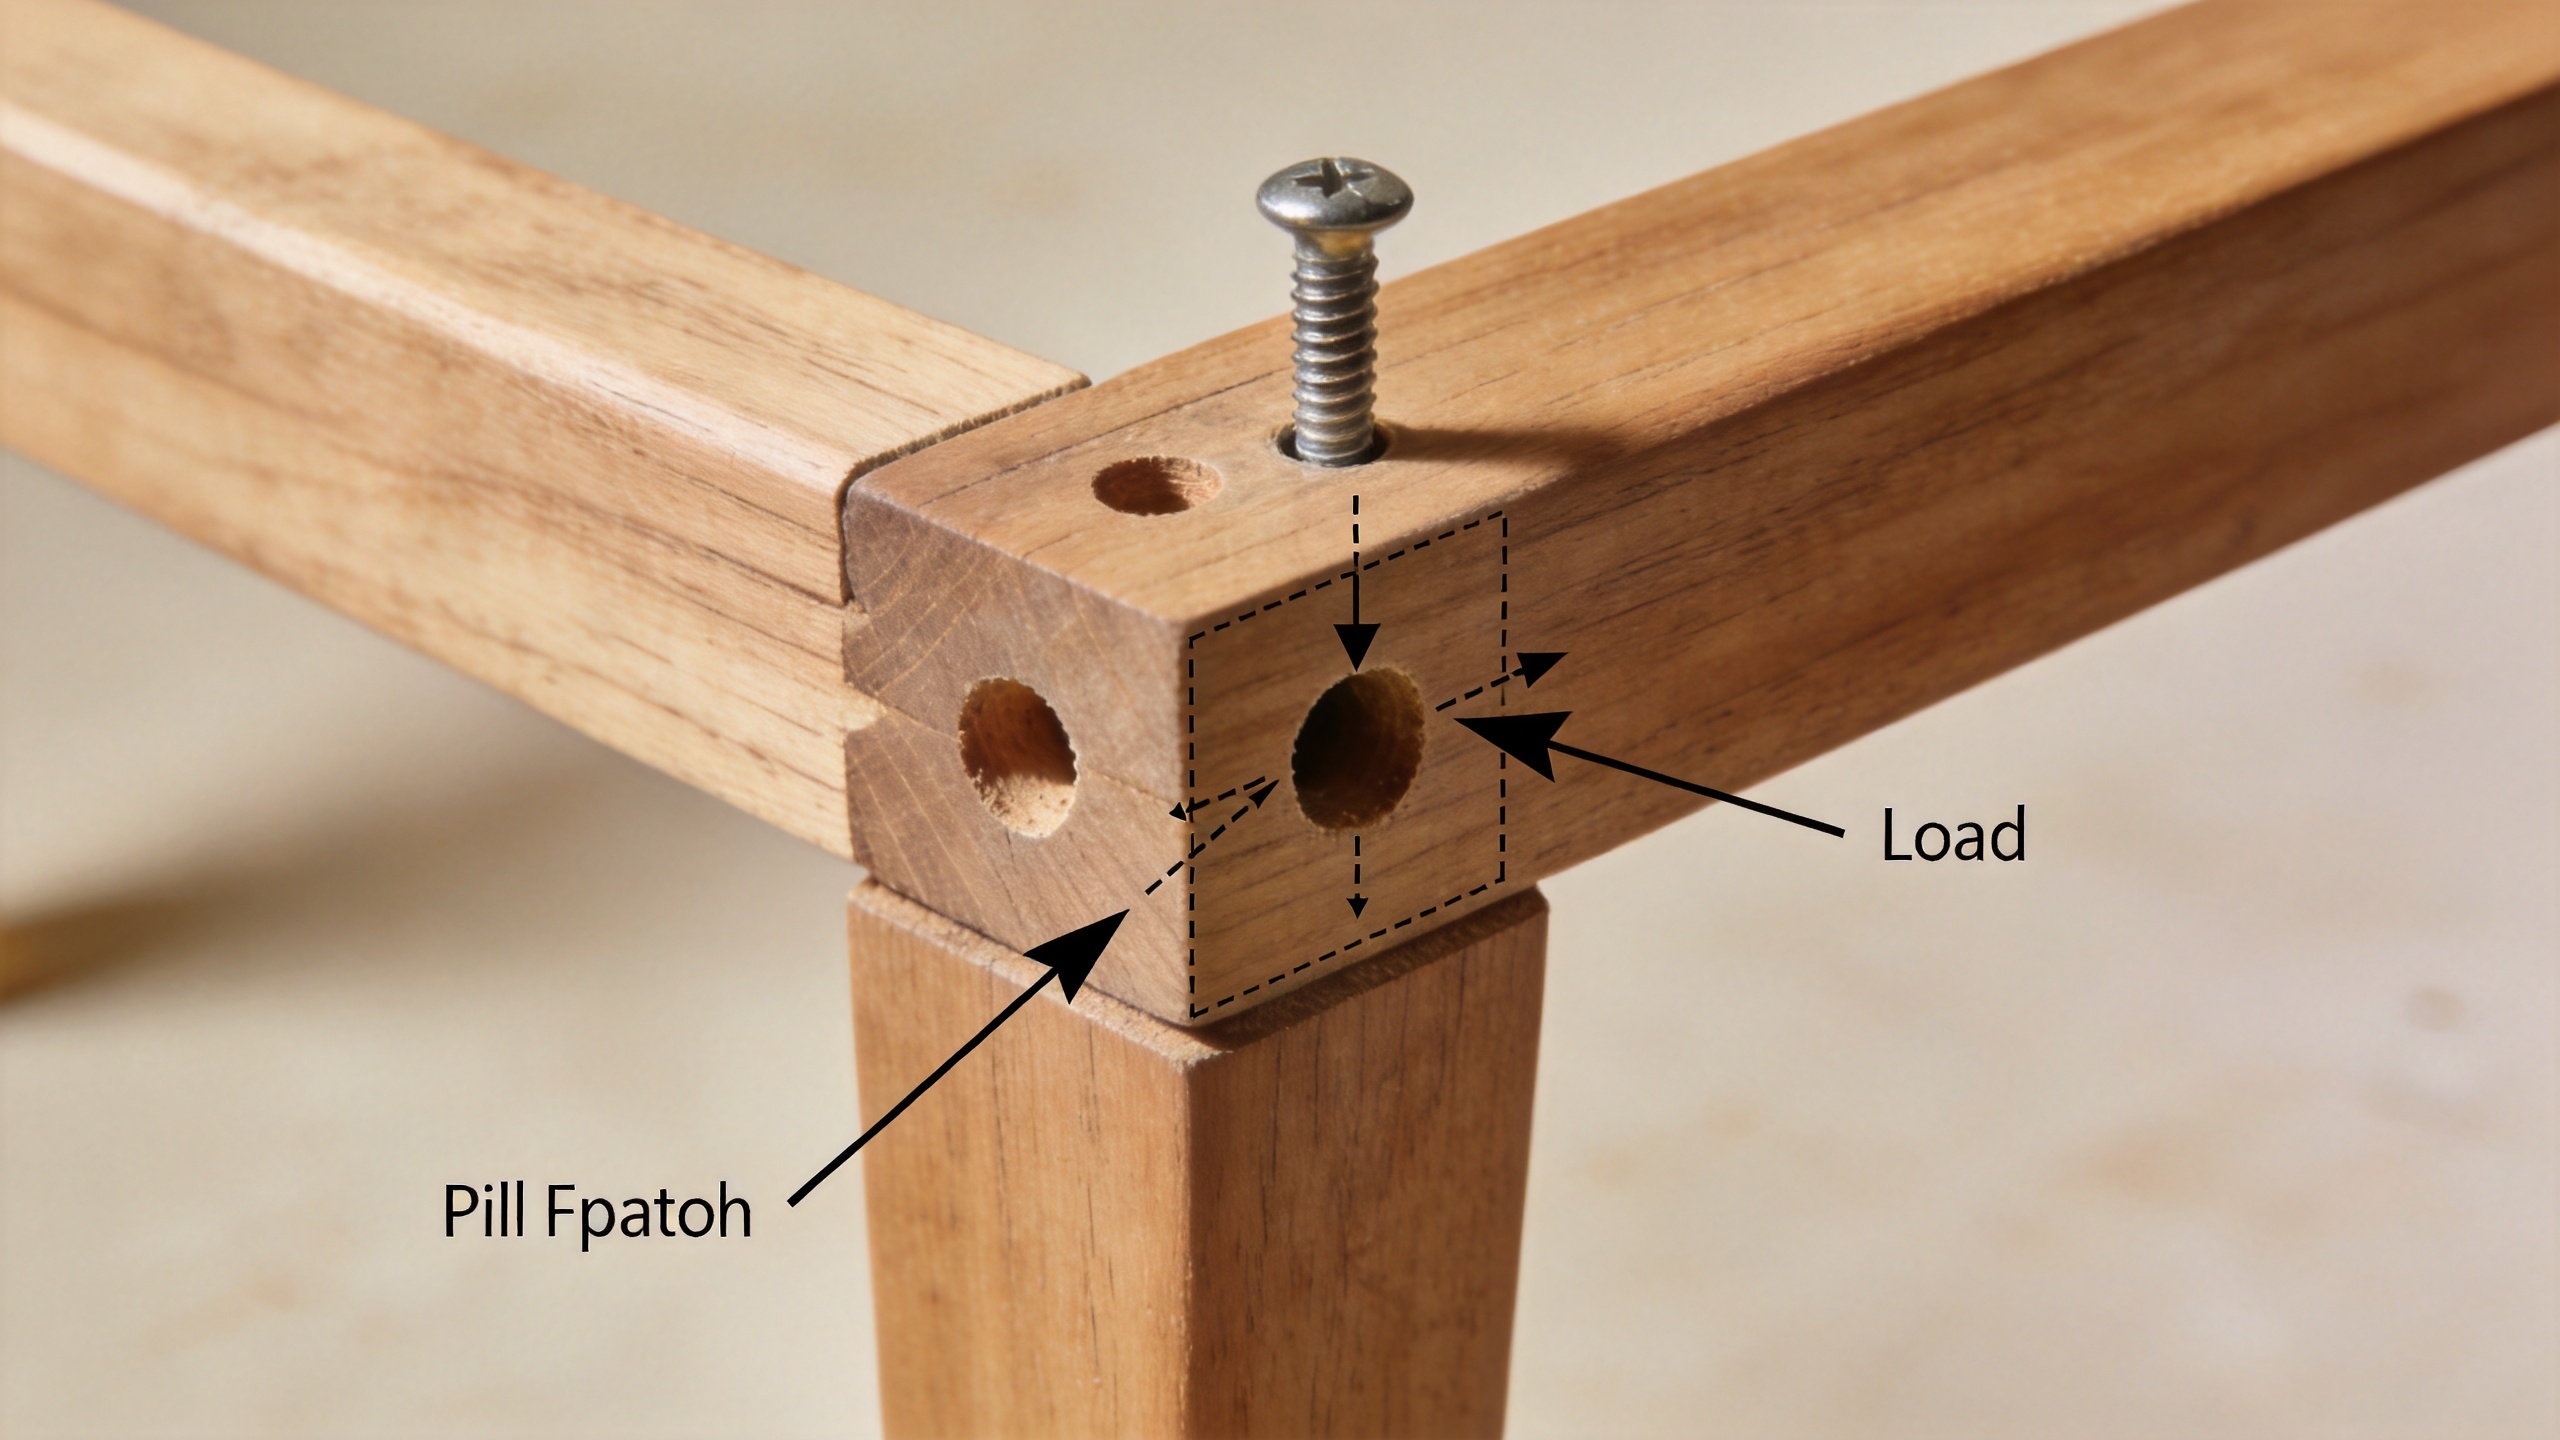
Control geometry, penetration, and spacing
A useful frame-joint review asks five questions before production:
- Does the screw cross the joint line with enough thread penetration in the receiving member?
- Is the fastener centered far enough from an edge and end to leave sound wood around it?
- Is there a clearance hole through the first piece so clamping occurs at the joint face?
- Does the head seat on a flat surface without forcing the rail apart?
- Will the grain direction, member thickness, and expected racking load create withdrawal, bending, or true shear demand?
End grain deserves particular caution because it often offers less dependable thread holding than side grain. Where construction forces attachment into end grain, redesigning the connection with a block, insert, cross-grain member, or another joinery feature is usually more valuable than using an oversize screw. For thin material, a washer-bearing head or a properly sized counterbore may spread head load, but it does not increase the wood available around the threads.
Set assembly controls, not just a torque target
Furniture joints often fail because process variation accumulates. A driver set too aggressively can strip fibers, snap a small screw, or crack a finished rail. A driver set too low can leave a gap that becomes a movement source. Establish a repeatable sequence: drill the pilot and clearance holes, align and clamp the parts, drive the screw squarely, inspect seating, and perform a simple racking check on a representative assembly.
It is tempting to think that a stronger screw is the answer. Experience says otherwise: a high-strength fastener in an unstable joint can transfer more damage into the wood. Specify the fastener with the joint system. Confirm material and finish for the service environment, verify dimensional consistency by batch, and retain samples when the furniture will see repeated loading or humid conditions. Suppliers with inspection controls and multiple material options can help support this verification, but the joint design remains the starting point.
A practical correction sequence for recurring failures
If the same screw failure appears repeatedly, do not jump straight to a larger diameter. First inspect failed samples and record whether the metal fractured, the threads pulled out, or the wood split. Next, check hole sizes, driving angle, clamping, and joint gap. Then add or improve a load-bearing feature such as a corner block or fitted shoulder. Only after those steps should you re-evaluate the screw diameter, length, material, and head style.
For new production, document the approved screw, pilot and clearance drill sizes, insertion depth, driver setting range, and visual acceptance criteria on the work instruction. That small amount of discipline helps the assembly team reproduce a joint that stays tight instead of creating a fastener problem downstream.
Final takeaway
Reducing screw shear failure in furniture frames is a joint-design task first and a fastener-selection task second. Build a stable load path, use the right wood screw or threaded fastening method for the material, drill appropriate holes, keep the fastener aligned, and validate the assembly with representative samples. When the wood, geometry, and installation process all support the screw, the frame has a much better basis for long-term service.

