 EN

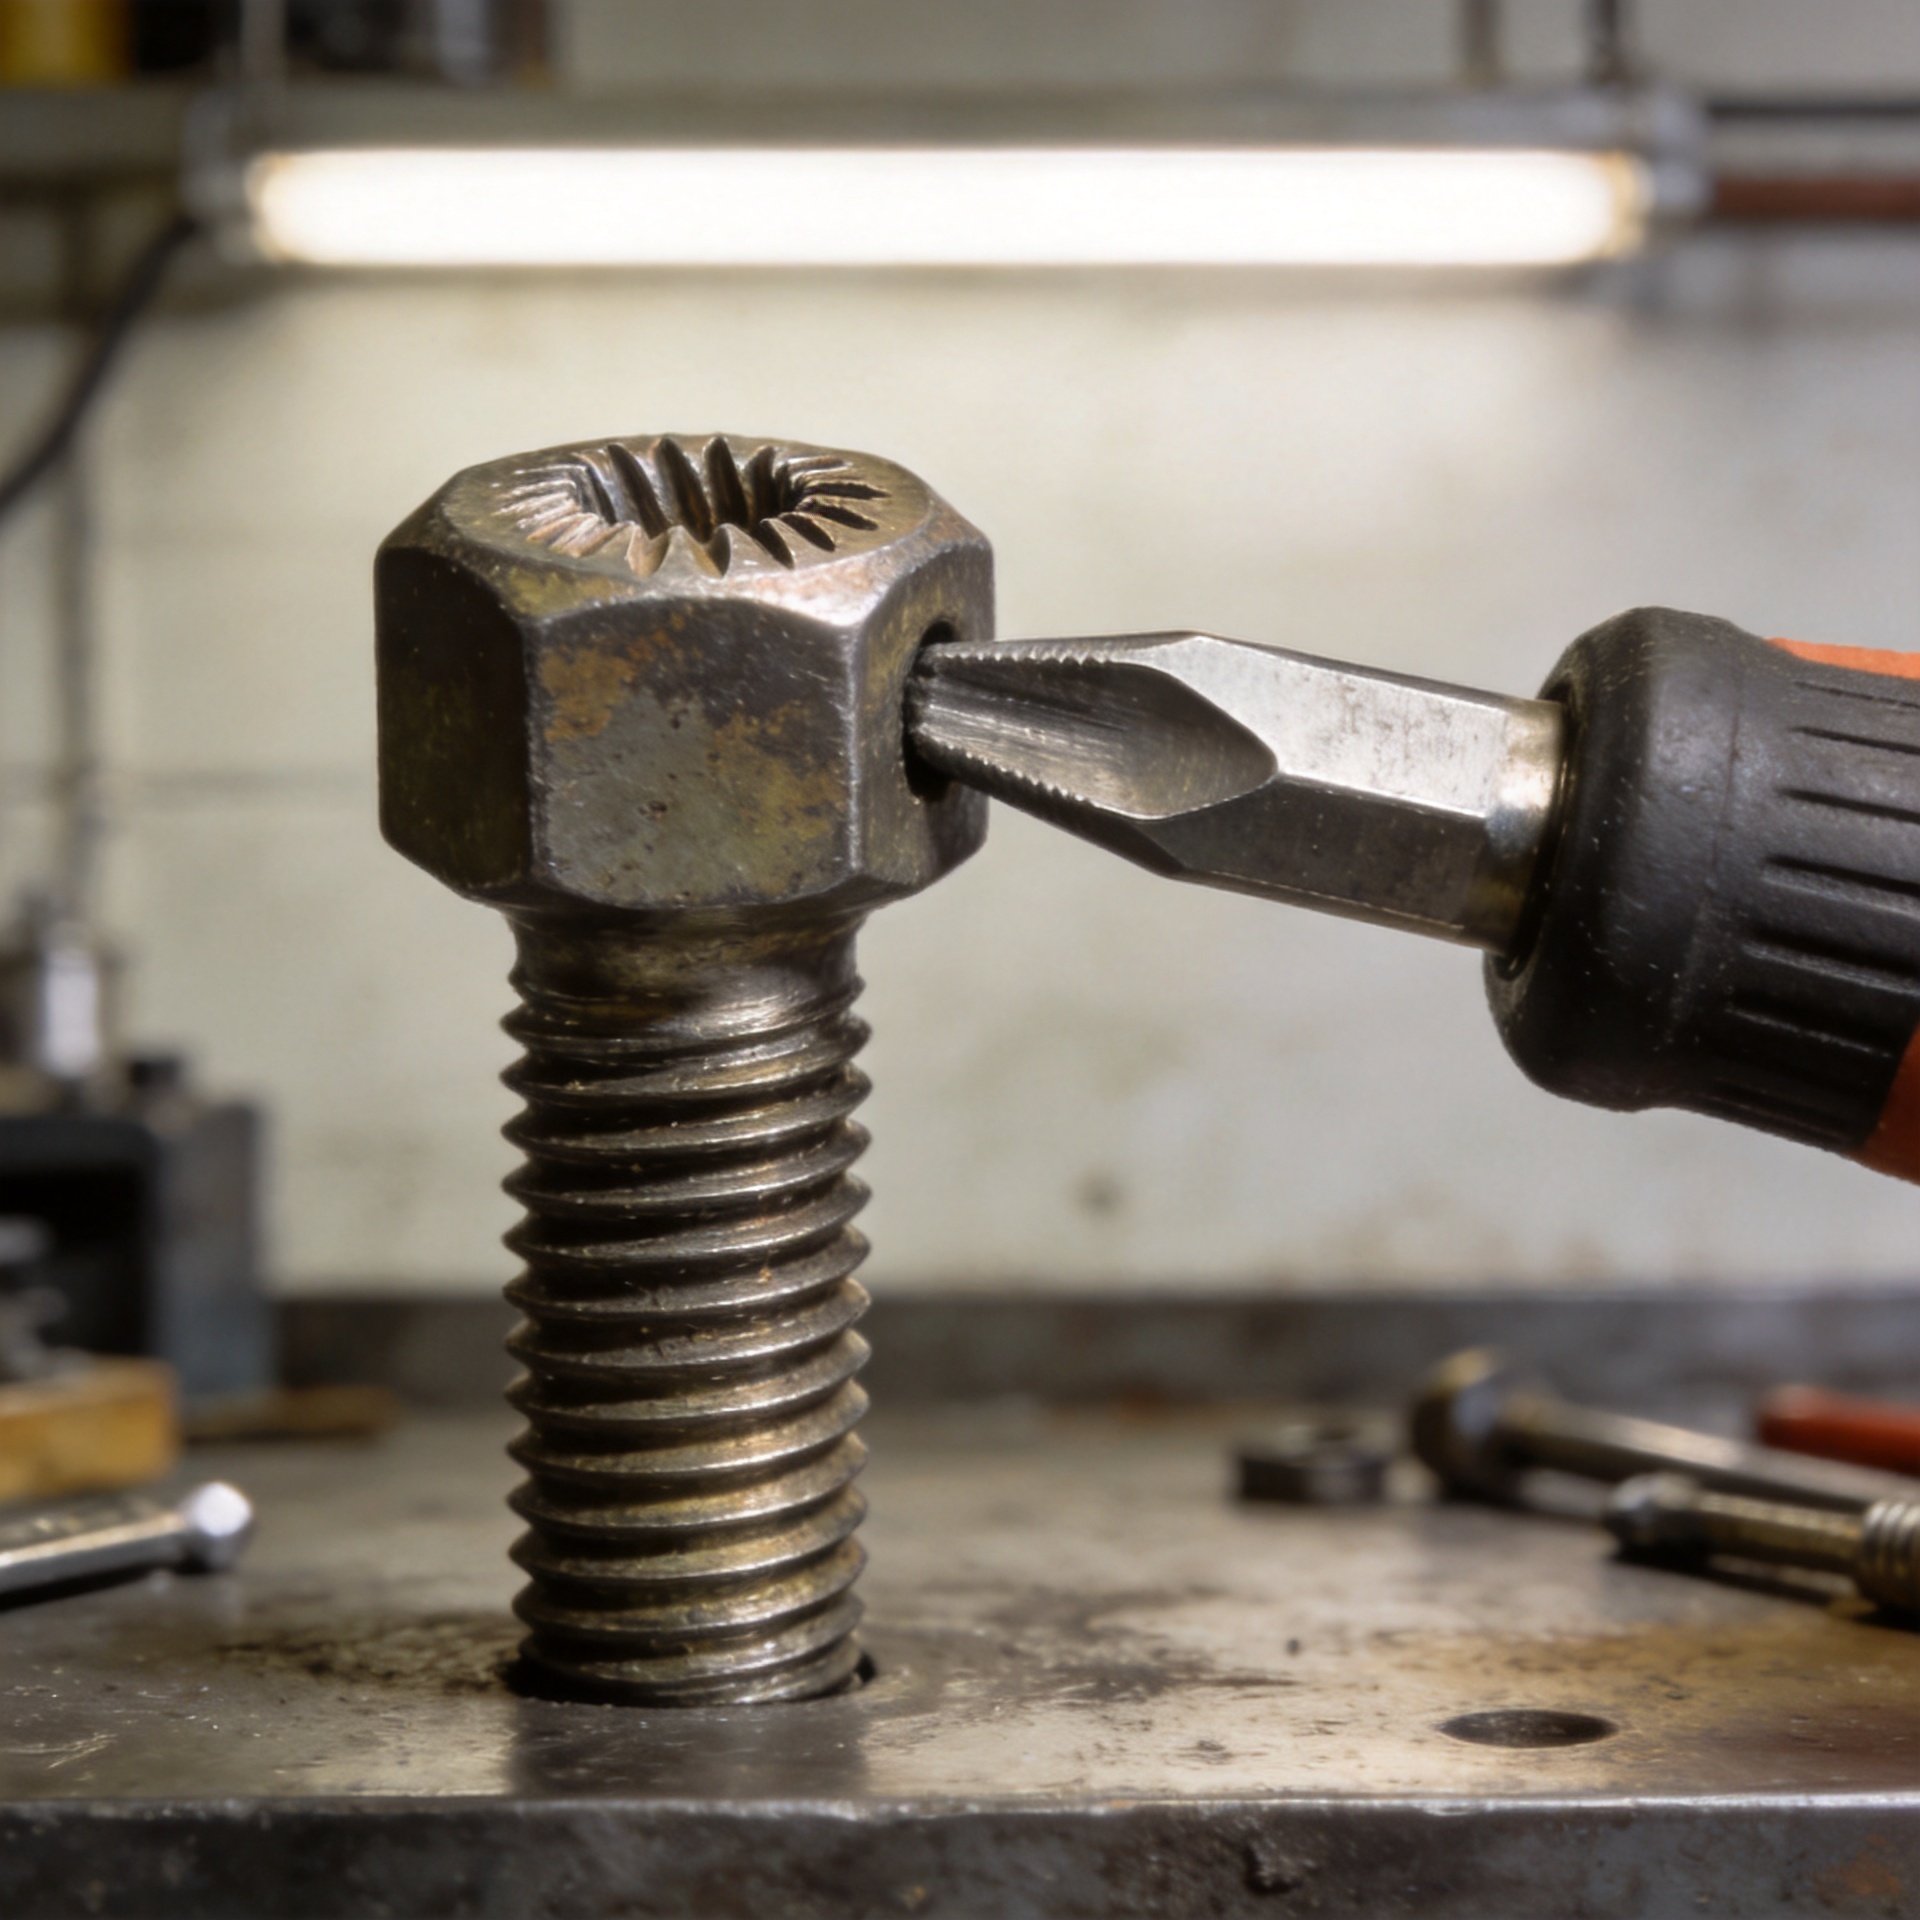
How to Remove a Screw With a Stripped Head Without Extra Drilling
A stripped screw is frustrating because every extra slip removes more of the drive recess. Before reaching for a drill, slow down and match the method to the head position, the material around it, and the type of screw involved. In assembly work, many damaged fasteners come out with a better-fitting driver, added friction, or a controlled grip—not more force.
This guide focuses on non-drilling options for a stripped screw. Start with the least aggressive method and move on only when it no longer makes mechanical sense. That sequence helps protect the workpiece as well as the fastener.
First, assess the stripped screw
Turn off and unplug nearby equipment where applicable. Clean loose paint, rust, or debris from the head, then look at two things: is the screw head proud of the surface, and is the recess merely worn or fully rounded? An exposed head gives you more options than a flush head. If the fastener holds a safety-critical part, a pressurized component, or delicate electronics, pause before using heat, impact, or penetrating fluid.
- Head above the surface: try external gripping methods first.
- Head flush or recessed: try a correctly sized driver and friction methods first.
- Wood screw in soft timber: protect the surrounding fibers from pry pressure.
- Machine screw in metal: check for thread-locking compound, corrosion, or a captive part.
Do not keep turning a driver that is camming out. Repeated slips usually turn a recoverable screw into a drilling job.
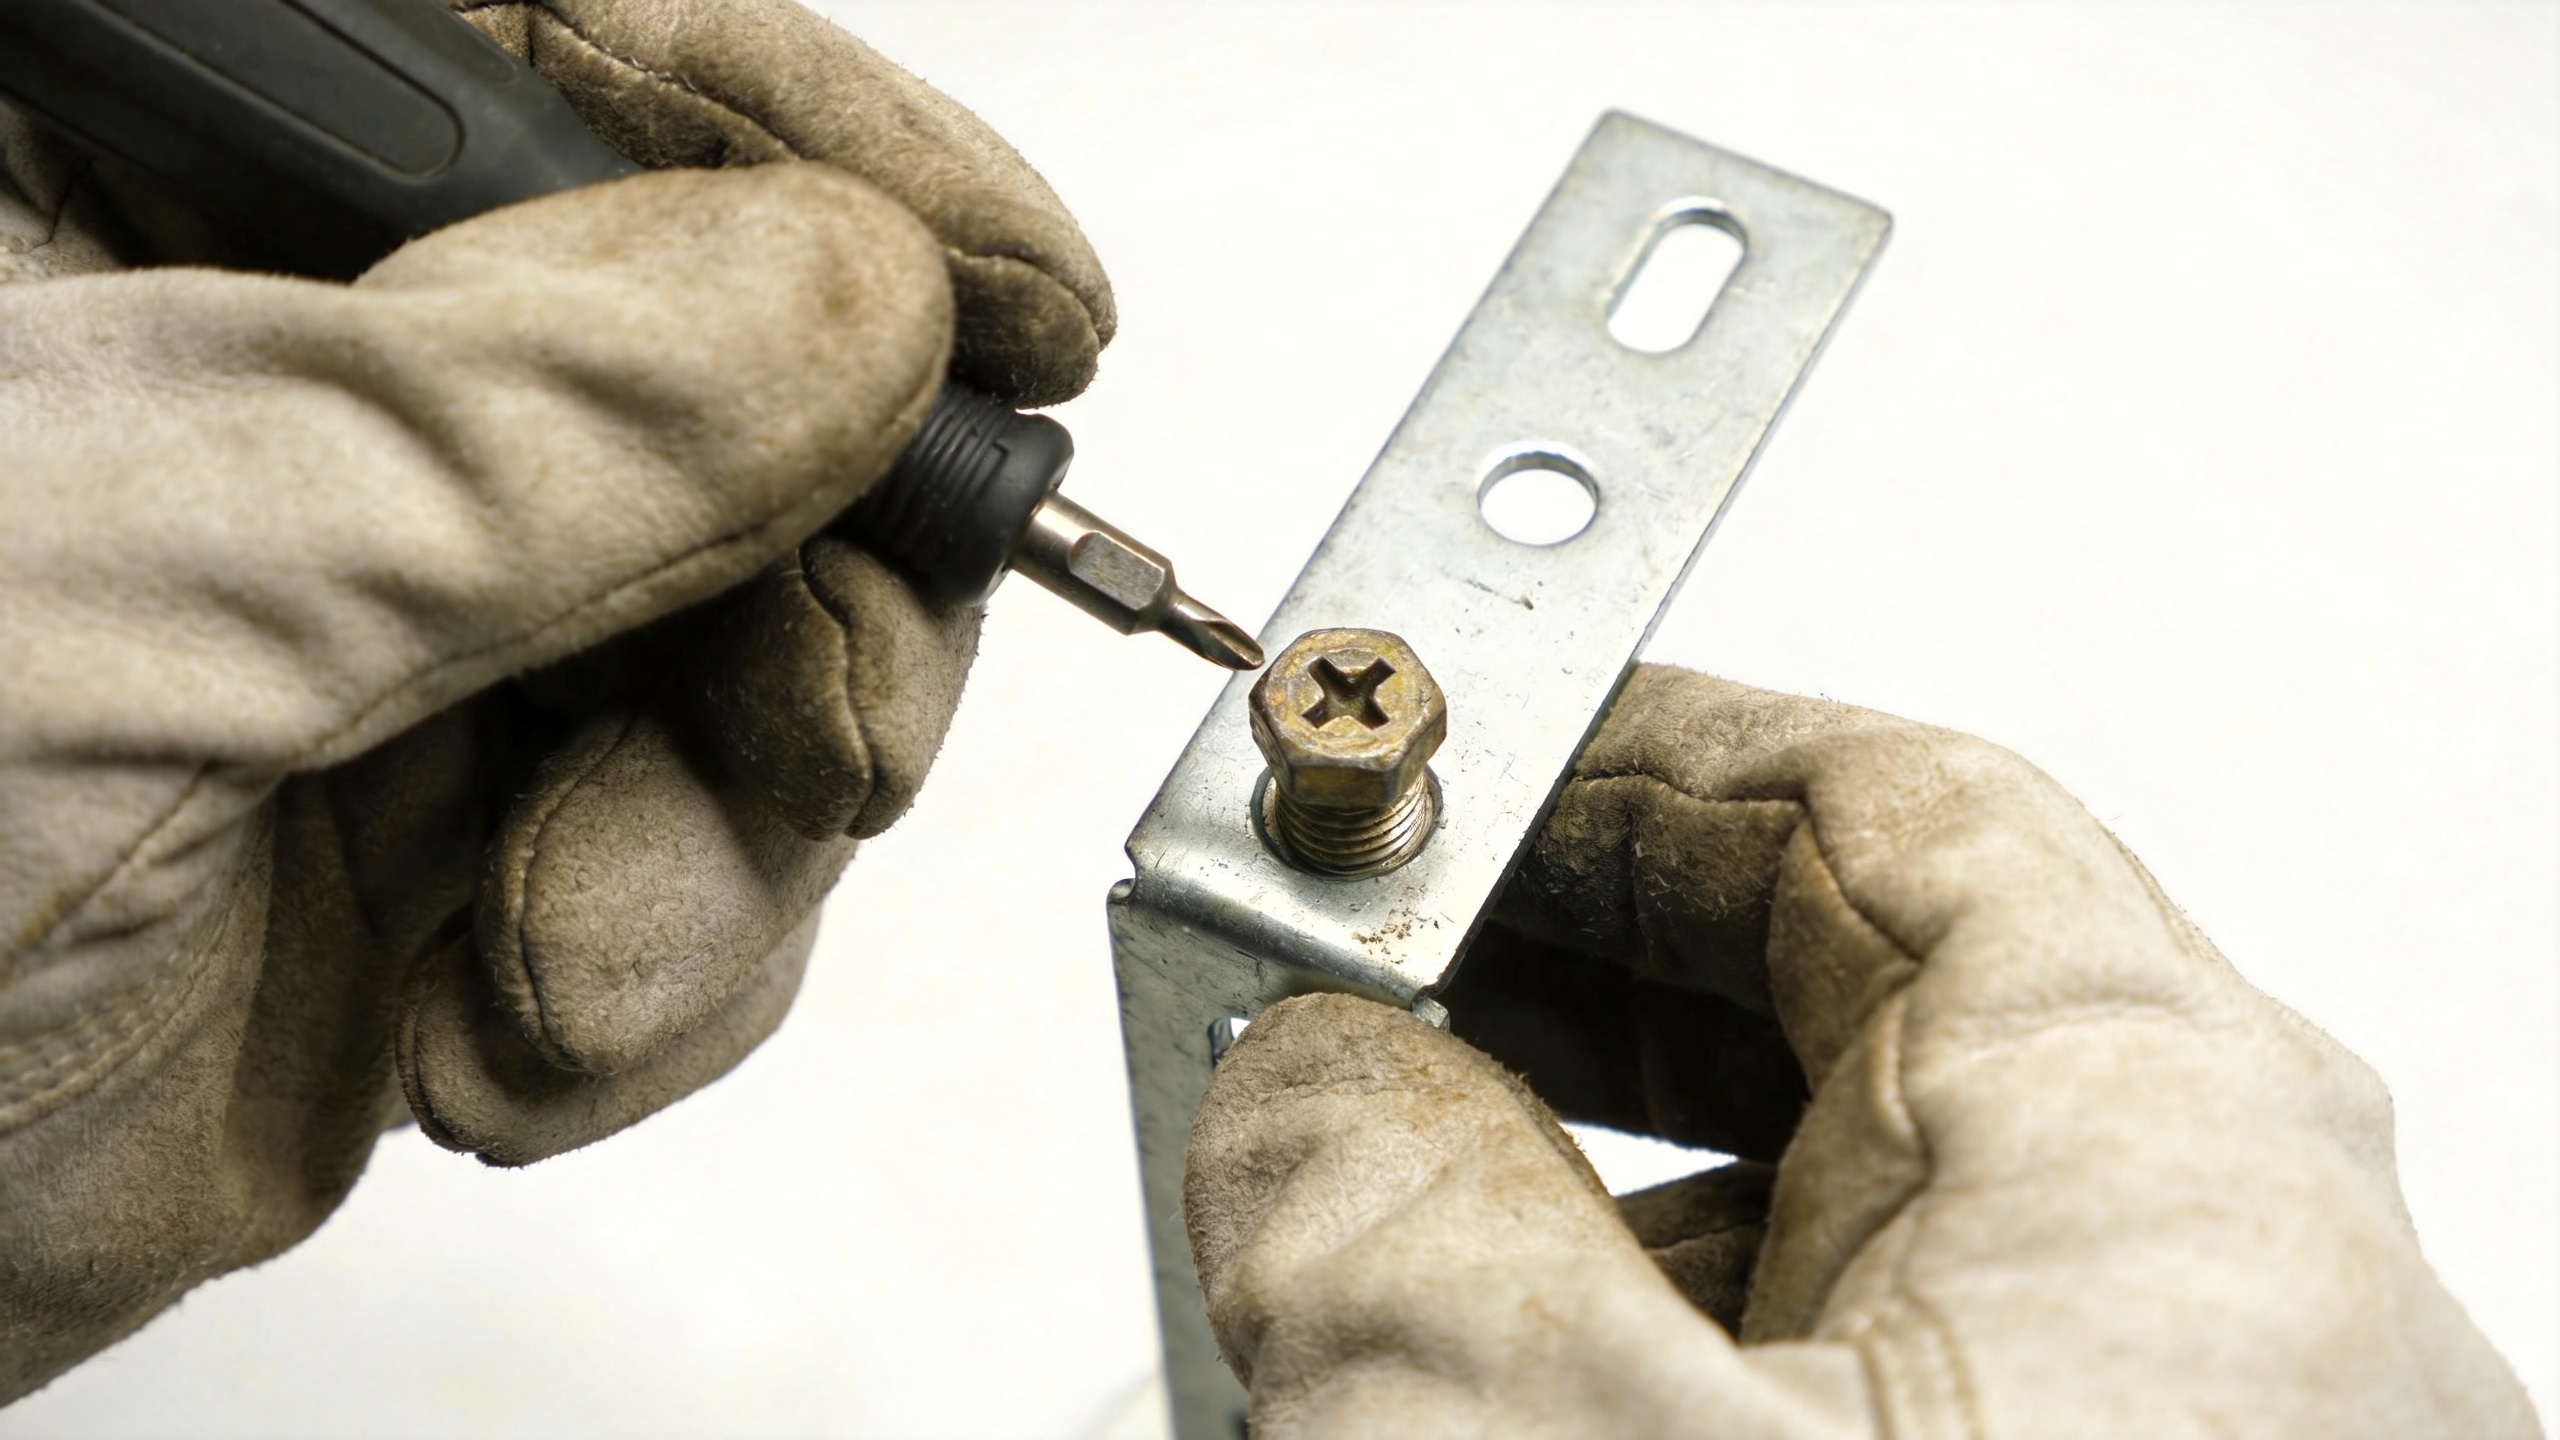
Method 1: Reset the driver fit and pressure
Use an undamaged driver bit that fills the recess as closely as possible. For a cross-head screw, a similar-looking bit can still be the wrong profile; test the fit with the tool stationary before applying torque. Seat the bit squarely, push firmly in line with the screw, and turn slowly counterclockwise. A hand driver gives better feedback than a high-speed driver at this stage.
For a hex screw, clean the socket and use an undamaged, full-depth hex key of the correct size. If the key rocks, do not force it. A slightly oversized, undamaged bit may sometimes seat with gentle tapping, but stop if that would spread or crack the surrounding part.
Method 2: Add friction with a rubber band or abrasive material
If the recess is shallowly rounded, place a wide rubber band over the head and press the driver through it. The material can help the bit bite into small gaps. Use steady downward pressure and a slow turn; this is not a high-torque technique. A thin piece of abrasive pad can serve a similar purpose where the surface can tolerate it.
This approach is most useful before the screw head is badly damaged. If the driver still rides upward, stop rather than shredding the rubber and polishing the recess further.
Method 3: Create a controlled external grip
When the head protrudes, locking pliers often provide the most direct non-drilling route. Clamp them tightly across the outer edge of the head, not loosely around the top. Rock the screw a few degrees in the tightening direction first if it feels seized, then work it backward in small movements. Keep the plier jaws parallel to the surface so they do not twist the head sideways.
This is especially practical for a large wood screw whose head sits above a hinge or bracket. Put thin card, tape, or a metal shim around finished surfaces before clamping. For a small machine screw, pliers may crush the head without adding useful grip, so return to driver-based options unless enough metal is exposed.
Method 4: Tap the driver into place
Light tapping can help an appropriate bit seat in a worn recess. Hold the driver square, use a light striking tool, and make a few controlled taps rather than heavy blows. Then apply downward force and turn by hand. The goal is better contact, not impact removal.
This method is reasonable for a steel screw in a robust assembly. Avoid it near glass, thin plastic housings, circuit boards, or brittle finishes. A self tapping screw in sheet material can distort the hole if it is driven sideways, so keep the force aligned with its axis.
Method 5: Reduce resistance before turning
Corrosion or paint can be the real problem, while the stripped head is only the symptom. On a metal assembly, apply a small amount of penetrating fluid at the threads or where the head meets the surface, following the product instructions and allowing time for it to work. Wipe away excess before trying the driver again. Use fluids only on materials that tolerate them; staining, swelling, or residue can create a separate problem.
Gentle heat is sometimes used on metal-only assemblies to soften certain thread-locking compounds or expand surrounding metal slightly. It is not appropriate around fuel, batteries, wiring insulation, finishes, or unknown materials. If those conditions exist, skip heat and use a lower-risk method.
Method 6: Cut a fresh slot only when the head can tolerate it
If a metal head is exposed and there is safe clearance, a hand file or thin cutting tool can create a straight slot for a flat-blade driver. This is still a material-removal method, but it avoids drilling into the screw shank or the workpiece. Cut only deep enough to engage the driver, keep metal filings out of nearby mechanisms, and turn with steady pressure.
Do not use this method on a small recessed screw, a plated surface where finish damage matters, or an area where sparks and filings are unsafe.
Choose the method by screw type
| Screw type | Useful first approach | Key caution |
|---|---|---|
| Wood screw | Correct driver, friction layer, then locking pliers if the head protrudes | Shield wood fibers and avoid levering against the surface. |
| Machine screw | Correct driver fit, controlled tapping, then penetrating fluid for metal threads | Do not bend a thin panel or damage a threaded insert. |
| Self tapping screw | Square driver pressure and limited tapping | Keep the screw aligned so the existing hole is not enlarged. |
| Hex screw | Clean socket and a full-depth, exact-size hex key | Stop if the key rocks; rounding the socket removes the cleanest option. |
Know when to stop without drilling
A non-drilling attempt has reached its limit when the head is flush, the recess no longer accepts a tool, the surrounding material begins to deform, or the screw will not move after sensible traction and resistance-reduction steps. Continuing can damage a threaded hole, a hinge, or the part beneath the fastener. At that point, a purpose-made extractor, professional repair, or carefully planned drilling may be safer than another improvised attempt.
Replace the screw instead of reusing it
Once removed, retire a screw with a damaged drive. Match the replacement to the original diameter, thread form, length, head style, and intended material. A wood screw, machine screw, self tapping screw, and hex screw are not interchangeable simply because their heads look similar. Starting the replacement by hand and using the right driver reduces the chance of another stripped head.
Quick checklist
- Clean the head and confirm the driver profile and size.
- Use square alignment, firm downward pressure, and slow hand torque.
- Add a friction layer for a lightly worn recess.
- Grip an exposed head with locking pliers while protecting the surface.
- Use penetrating fluid only where the materials and assembly allow it.
- Stop before the workpiece deforms or the head loses all usable engagement.
The practical lesson is simple: treat a stripped screw as a contact-and-control problem first. Better fit, more friction, and an external grip often preserve both the part and your option to escalate later.

