 EN

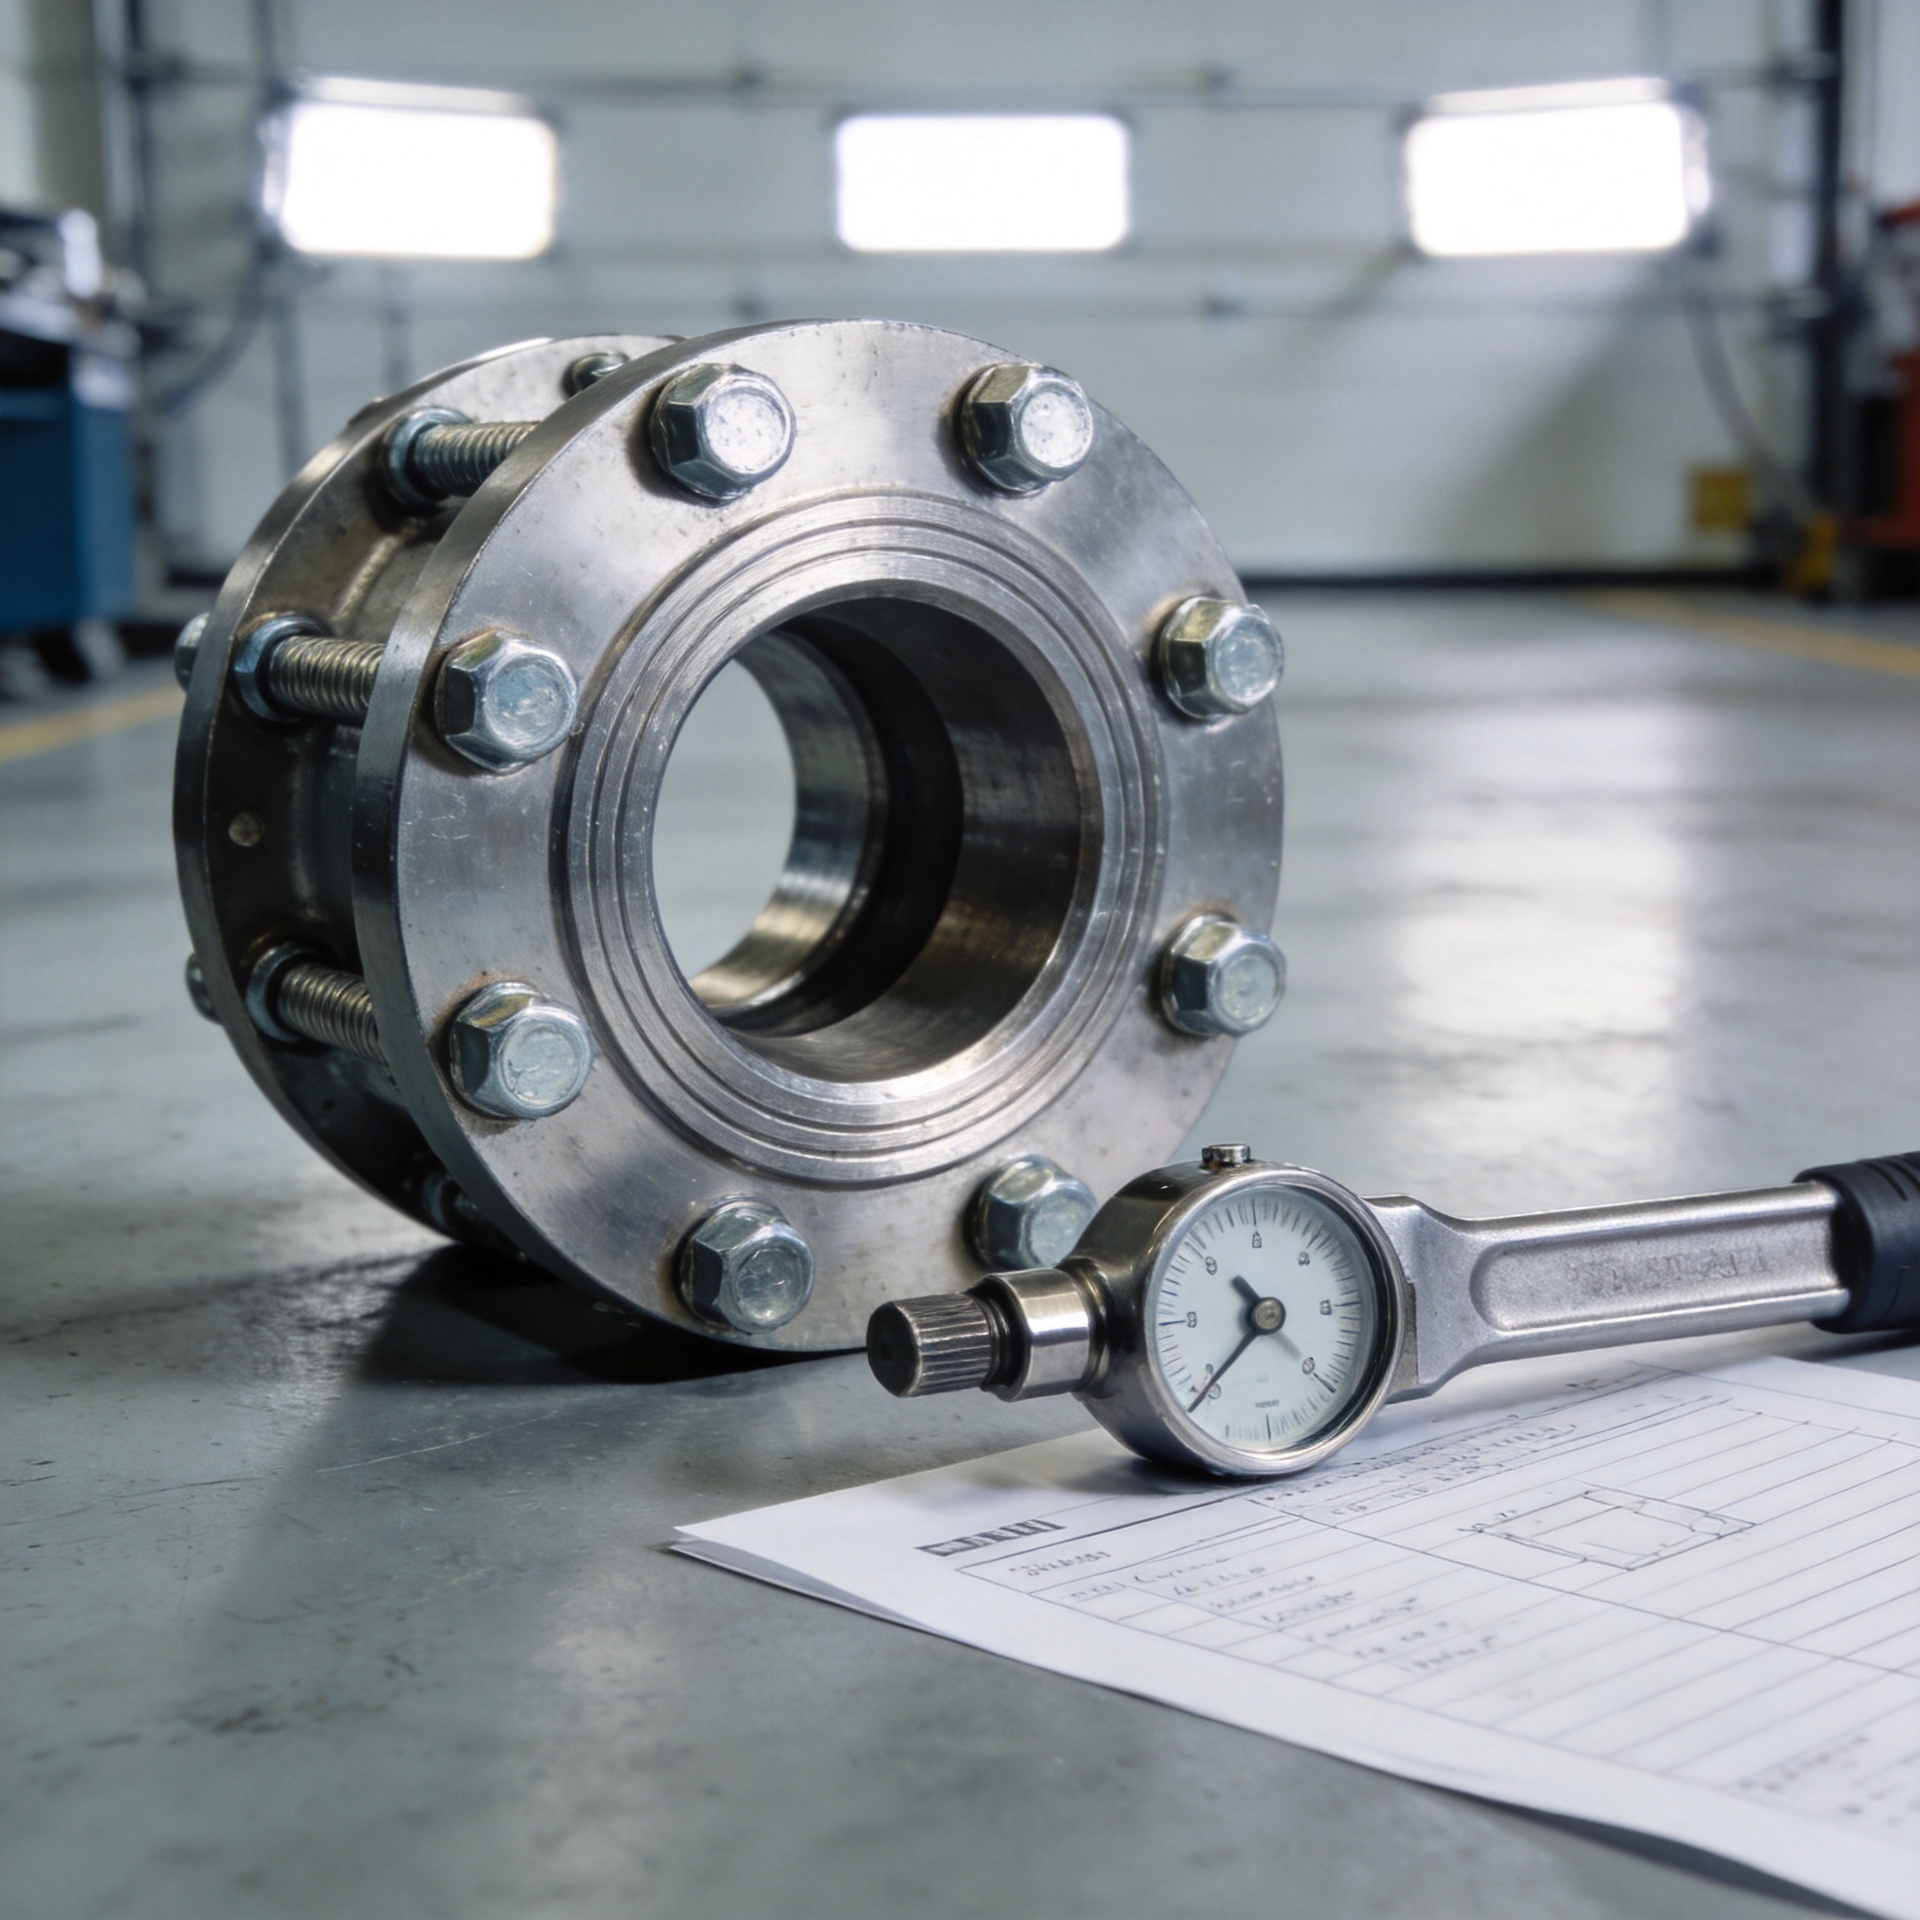
How to Resolve Fastener Torque Loss After Maintenance Cycles
A fastener that no longer reaches the expected torque after repeated maintenance is not automatically a defective part. The more useful question is whether the joint has lost preload, changed friction, settled at its bearing and clamped surfaces, or been altered during disassembly. As an engineer reviewing fastener selections for mechanical assemblies, I start with the load path and the maintenance record before deciding whether a threaded fastener needs replacement, a revised tightening method, or a joint-design review.
Torque is the turning input applied during assembly; its purpose is normally to create bolt tension and clamp load. Those are related but not interchangeable. Thread friction, under-head friction, lubrication, surface finish, and seating condition can change the result obtained from the same torque setting. After maintenance cycles, a torque reading can therefore look different even when the mechanic follows the former instruction precisely.
Confirm What “Torque Loss” Means in This Fastener Joint
Start by separating three observations that are often grouped together as fastener torque loss. First, a maintenance technician may find that a nut turns before the target torque is reached. Second, the target torque may be achieved but the joint later settles or leaks. Third, the tool may indicate the target torque while clamp load remains uncertain. Each case needs a different response.
- Rotation before target torque: inspect for embedment, worn threads, a damaged bearing face, or a part that has changed thickness.
- Repeated relaxation after service: review vibration, thermal cycling, gasket creep, paint compression, and joint stiffness.
- Changed torque feel or scatter: check whether cleaning, lubricant, coating, washers, or tool calibration changed the friction system.
A threaded fastener can lose clamp force without obvious external rotation. That is why witness marks are useful for detecting rotation, but they do not measure preload. If the equipment is safety-critical, pressurized, or subject to a controlled procedure, follow the governing engineering specification and escalation path rather than applying a generic re-torque value.
Inspect the Joint Before Applying More Torque
Do not use additional torque as the first diagnostic action. First isolate the equipment as required, document the as-found condition, and compare the joint to an approved drawing or maintenance instruction. Look for fretting at the joint contact surface, compressed coatings, flattened washers, gasket extrusion, corrosion products, galling, thread damage, and elongated holes. A mechanical fastener that appears intact can still be working against a changed bearing surface.
Clean only as the approved procedure allows. A cleaned and lubricated stainless fastener can develop substantially different friction from a dry, used component. Reusing an old torque value after that change may produce a different clamp load. Similarly, replacing a washer, changing a plated surface, or applying a thread treatment changes the assembly condition that supported the original torque instruction.
Check the Fastener and the Mating Parts Together
Measure the thread engagement, verify the matching thread form and pitch, and inspect both male and female threads. Replace a damaged threaded fastener rather than trying to compensate with higher torque. Also inspect the joint stack: a missing hardened washer, a soft painted surface, or a distorted flange can make a good fastener look like the cause when the actual issue is in the clamped material.
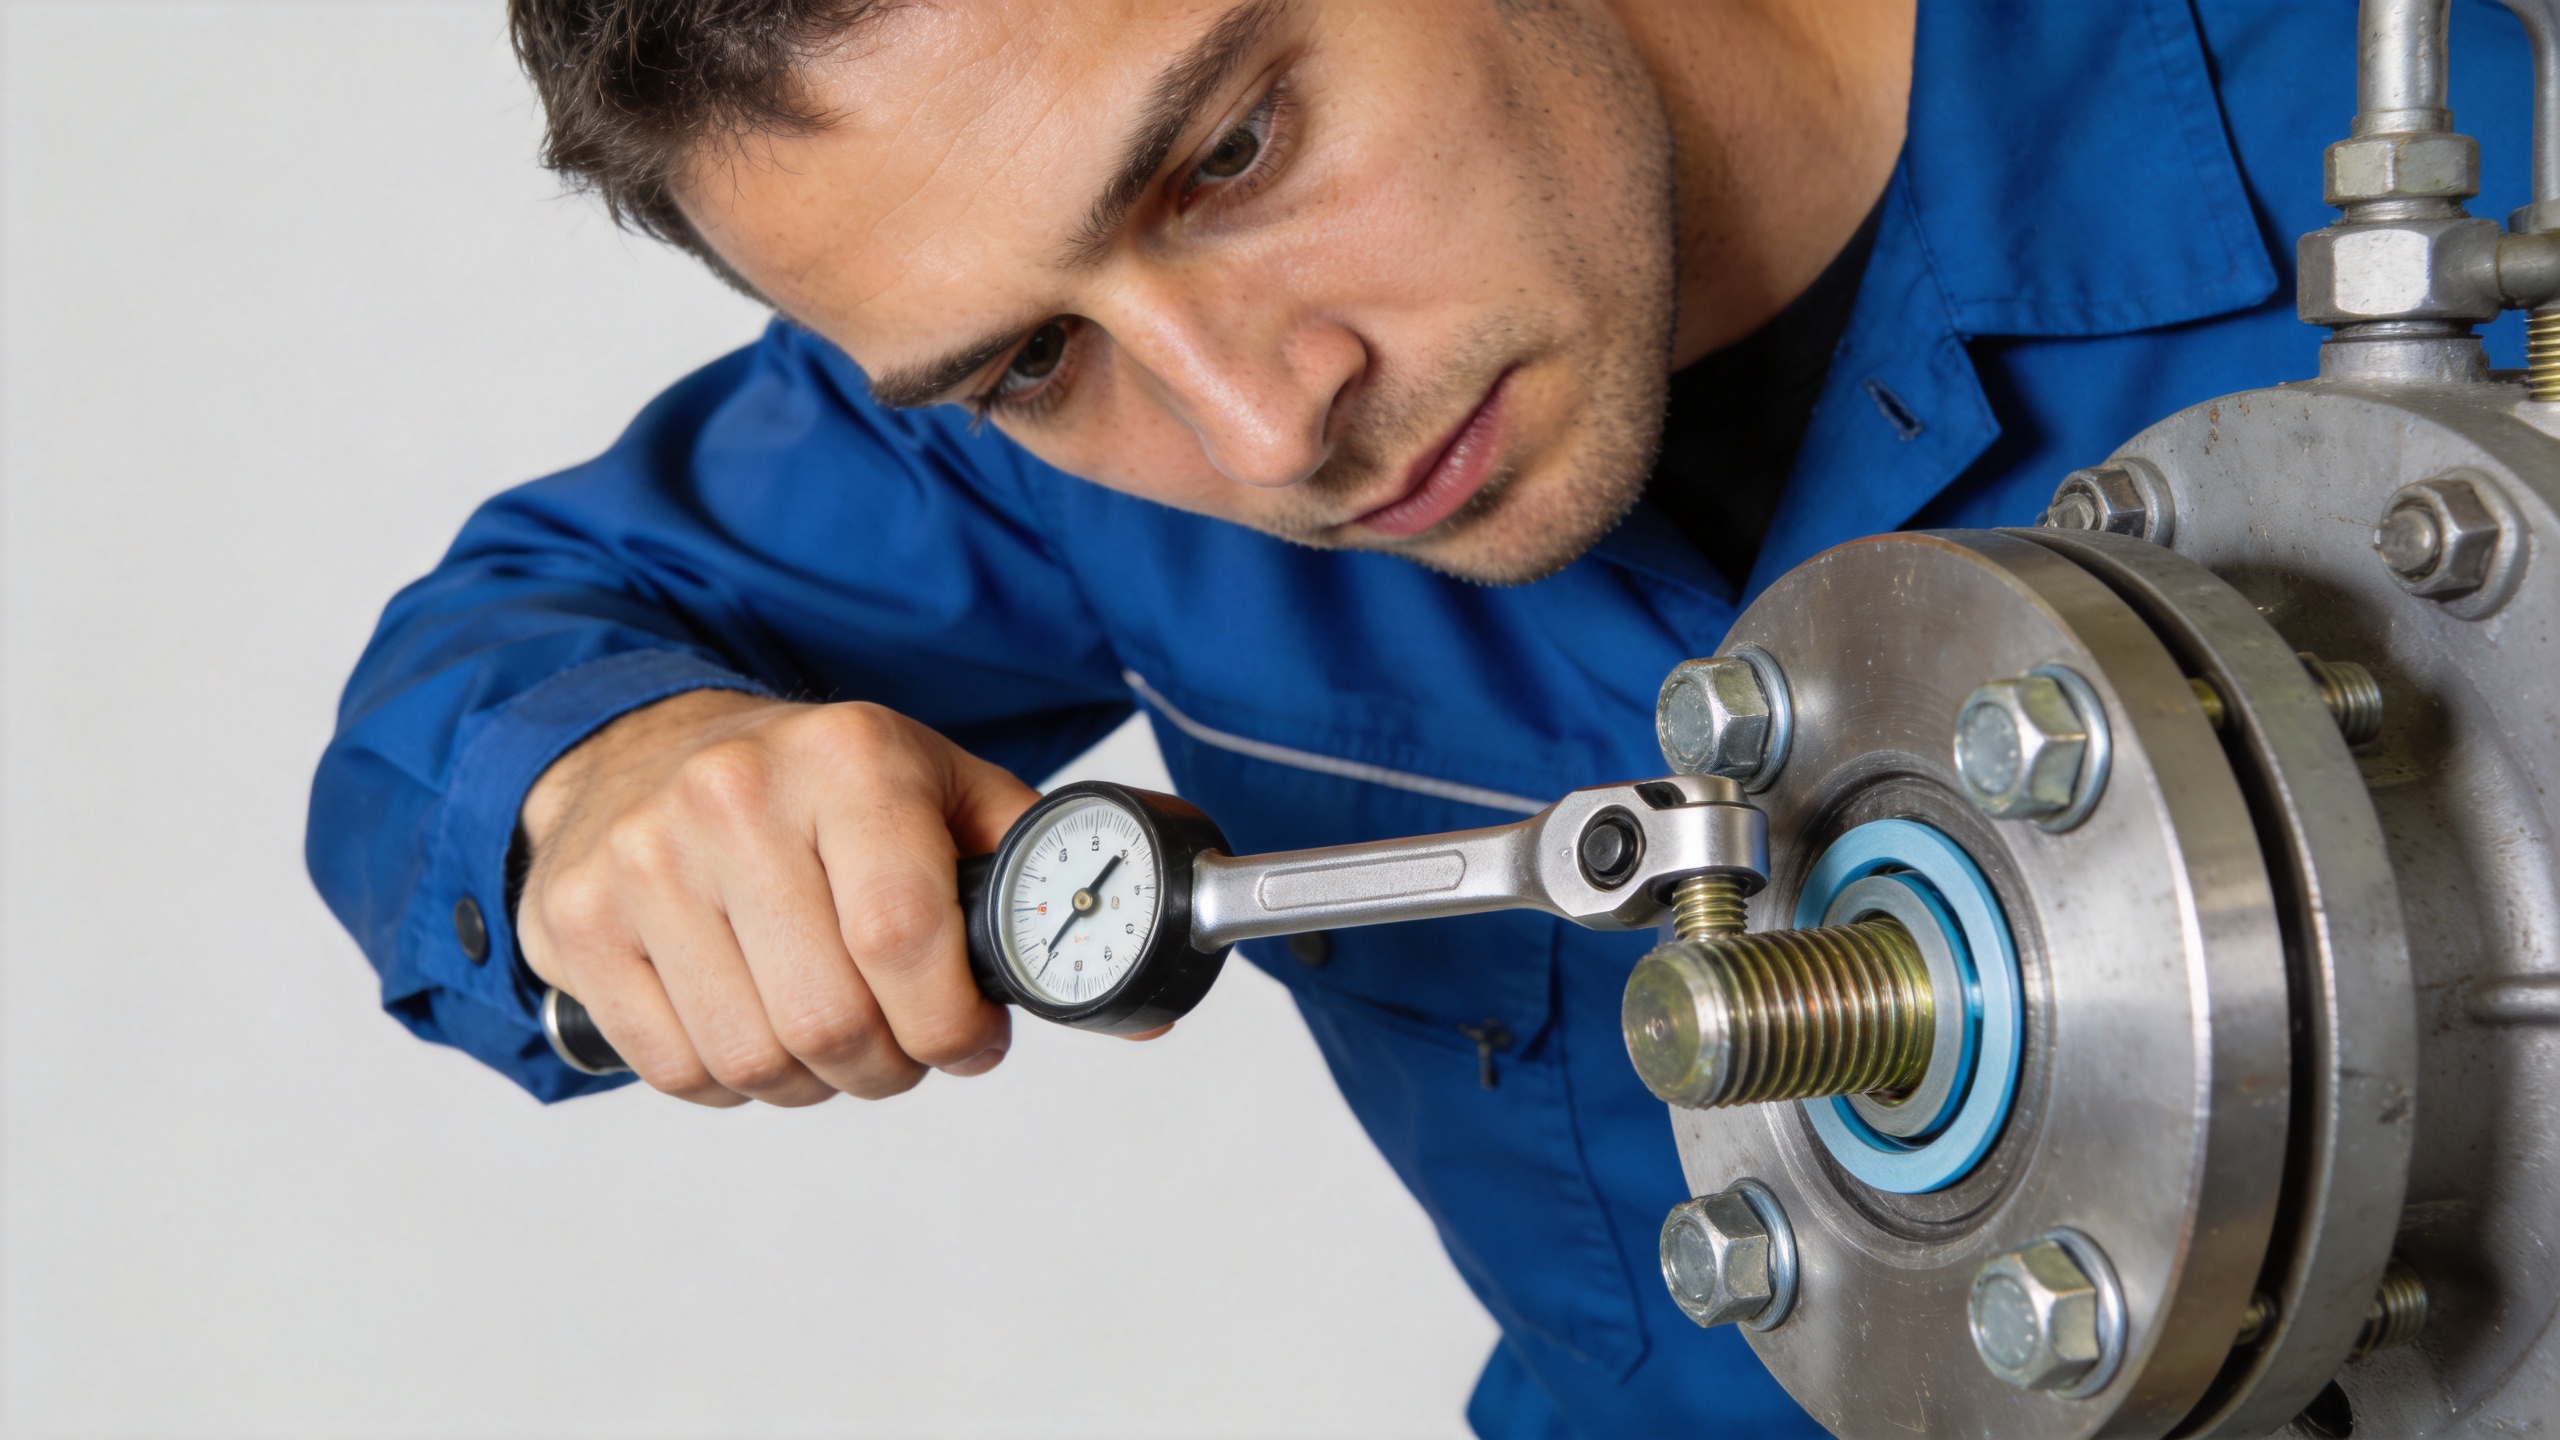
Find the Mechanism Behind the Loss of Clamp Load
Embedment relaxation is common after assembly. Microscopic high points on threads and bearing faces flatten under load, reducing the effective stack height and allowing tension to fall. Soft coatings, joint sealants, and gaskets can add more settling. In this situation, a documented initial settlement check may be appropriate when the design and service procedure allow it.
Vibration is different. Cyclic transverse movement can reduce preload and eventually encourage relative rotation. Thermal cycling adds another mechanism: the fastener and connected components may expand at different rates, changing load as temperature changes. A torque check performed cold may not describe the joint condition at operating temperature. The maintenance plan should identify the inspection state—cold, warm, depressurized, loaded, or after a defined dwell—so results can be compared meaningfully.
It is tempting to assume that a higher-strength custom fastener solves recurring torque loss. Strength grade may matter, but it does not correct a settling contact surface, inadequate engagement, a joint with low stiffness, or a procedure that changes friction every time it is opened. Match the correction to the mechanism.
Use a Controlled Re-Torque and Verification Process
- Establish the approved condition. Record fastener size, grade, finish, lubricant or treatment, washer arrangement, torque tool, sequence, and the condition of the joint surfaces.
- Replace nonconforming parts. Remove and replace parts with damaged threads, galling, corrosion that affects fit, deformed washers, or doubtful traceability. Do not combine uncertain new and used components without an approved method.
- Restore the designed stack. Correct gaps, coating buildup, damaged seating faces, or missing hardware before tightening. Tightening a distorted stack can mask the underlying issue.
- Apply the specified sequence. Use the documented cross-pattern, staged passes, and calibrated tool where applicable. A sequence matters because loading one side of a flange or cover can redistribute clamp load across the other fasteners.
- Verify by the method suited to the joint. For critical joints, the engineering plan may call for angle control, bolt elongation, ultrasonic measurement, direct tension indication, or another validated method. Torque alone may be adequate only where the design has established that it is adequate.
- Record the outcome after the defined service exposure. Note operating cycles, temperature exposure, vibration observations, and any recheck results. The record helps distinguish one-time seating from an ongoing joint problem.
Build Maintenance Cycles Around Evidence, Not Habit
For recurring equipment, use the first few maintenance cycles to establish a trend. Record the exact fastener configuration and any process changes. If torque loss begins after a new coating, wash process, or replacement part, that timing is a strong clue. If it occurs only after heat-up, focus on thermal effects and materials in the stack. If it follows vibration exposure, examine joint movement and locking strategy rather than raising torque by habit.
Fastener maintenance works more reliably when engineering, quality, and maintenance use the same language: torque is a controlled assembly input; clamp load is the function the joint needs; and inspection must match the failure mechanism. That distinction reduces unnecessary part changes and directs attention to the joint conditions that need correction.
Final Checklist for Recurrent Torque Loss
- Identify whether the symptom is rotation, relaxation, leakage, movement, or tool scatter.
- Verify threads, mating surfaces, washers, stack thickness, and hardware traceability.
- Confirm that lubricant, coating, cleaning practice, and torque tools match the approved assembly condition.
- Use the specified sequence and a verification method suited to the joint’s consequence of failure.
- Escalate repeated loss after correction to the responsible joint-design authority for a preload, stiffness, and service-load review.
When a fastener loses torque after maintenance cycles, the durable response is a documented diagnosis rather than a higher wrench setting. Restore the correct joint condition, validate the assembly method, and use the maintenance record to determine whether the issue is seating, friction, service loading, or joint design.

