 EN

How to Stop Pilot Holes From Splitting Wood During Screw Installation
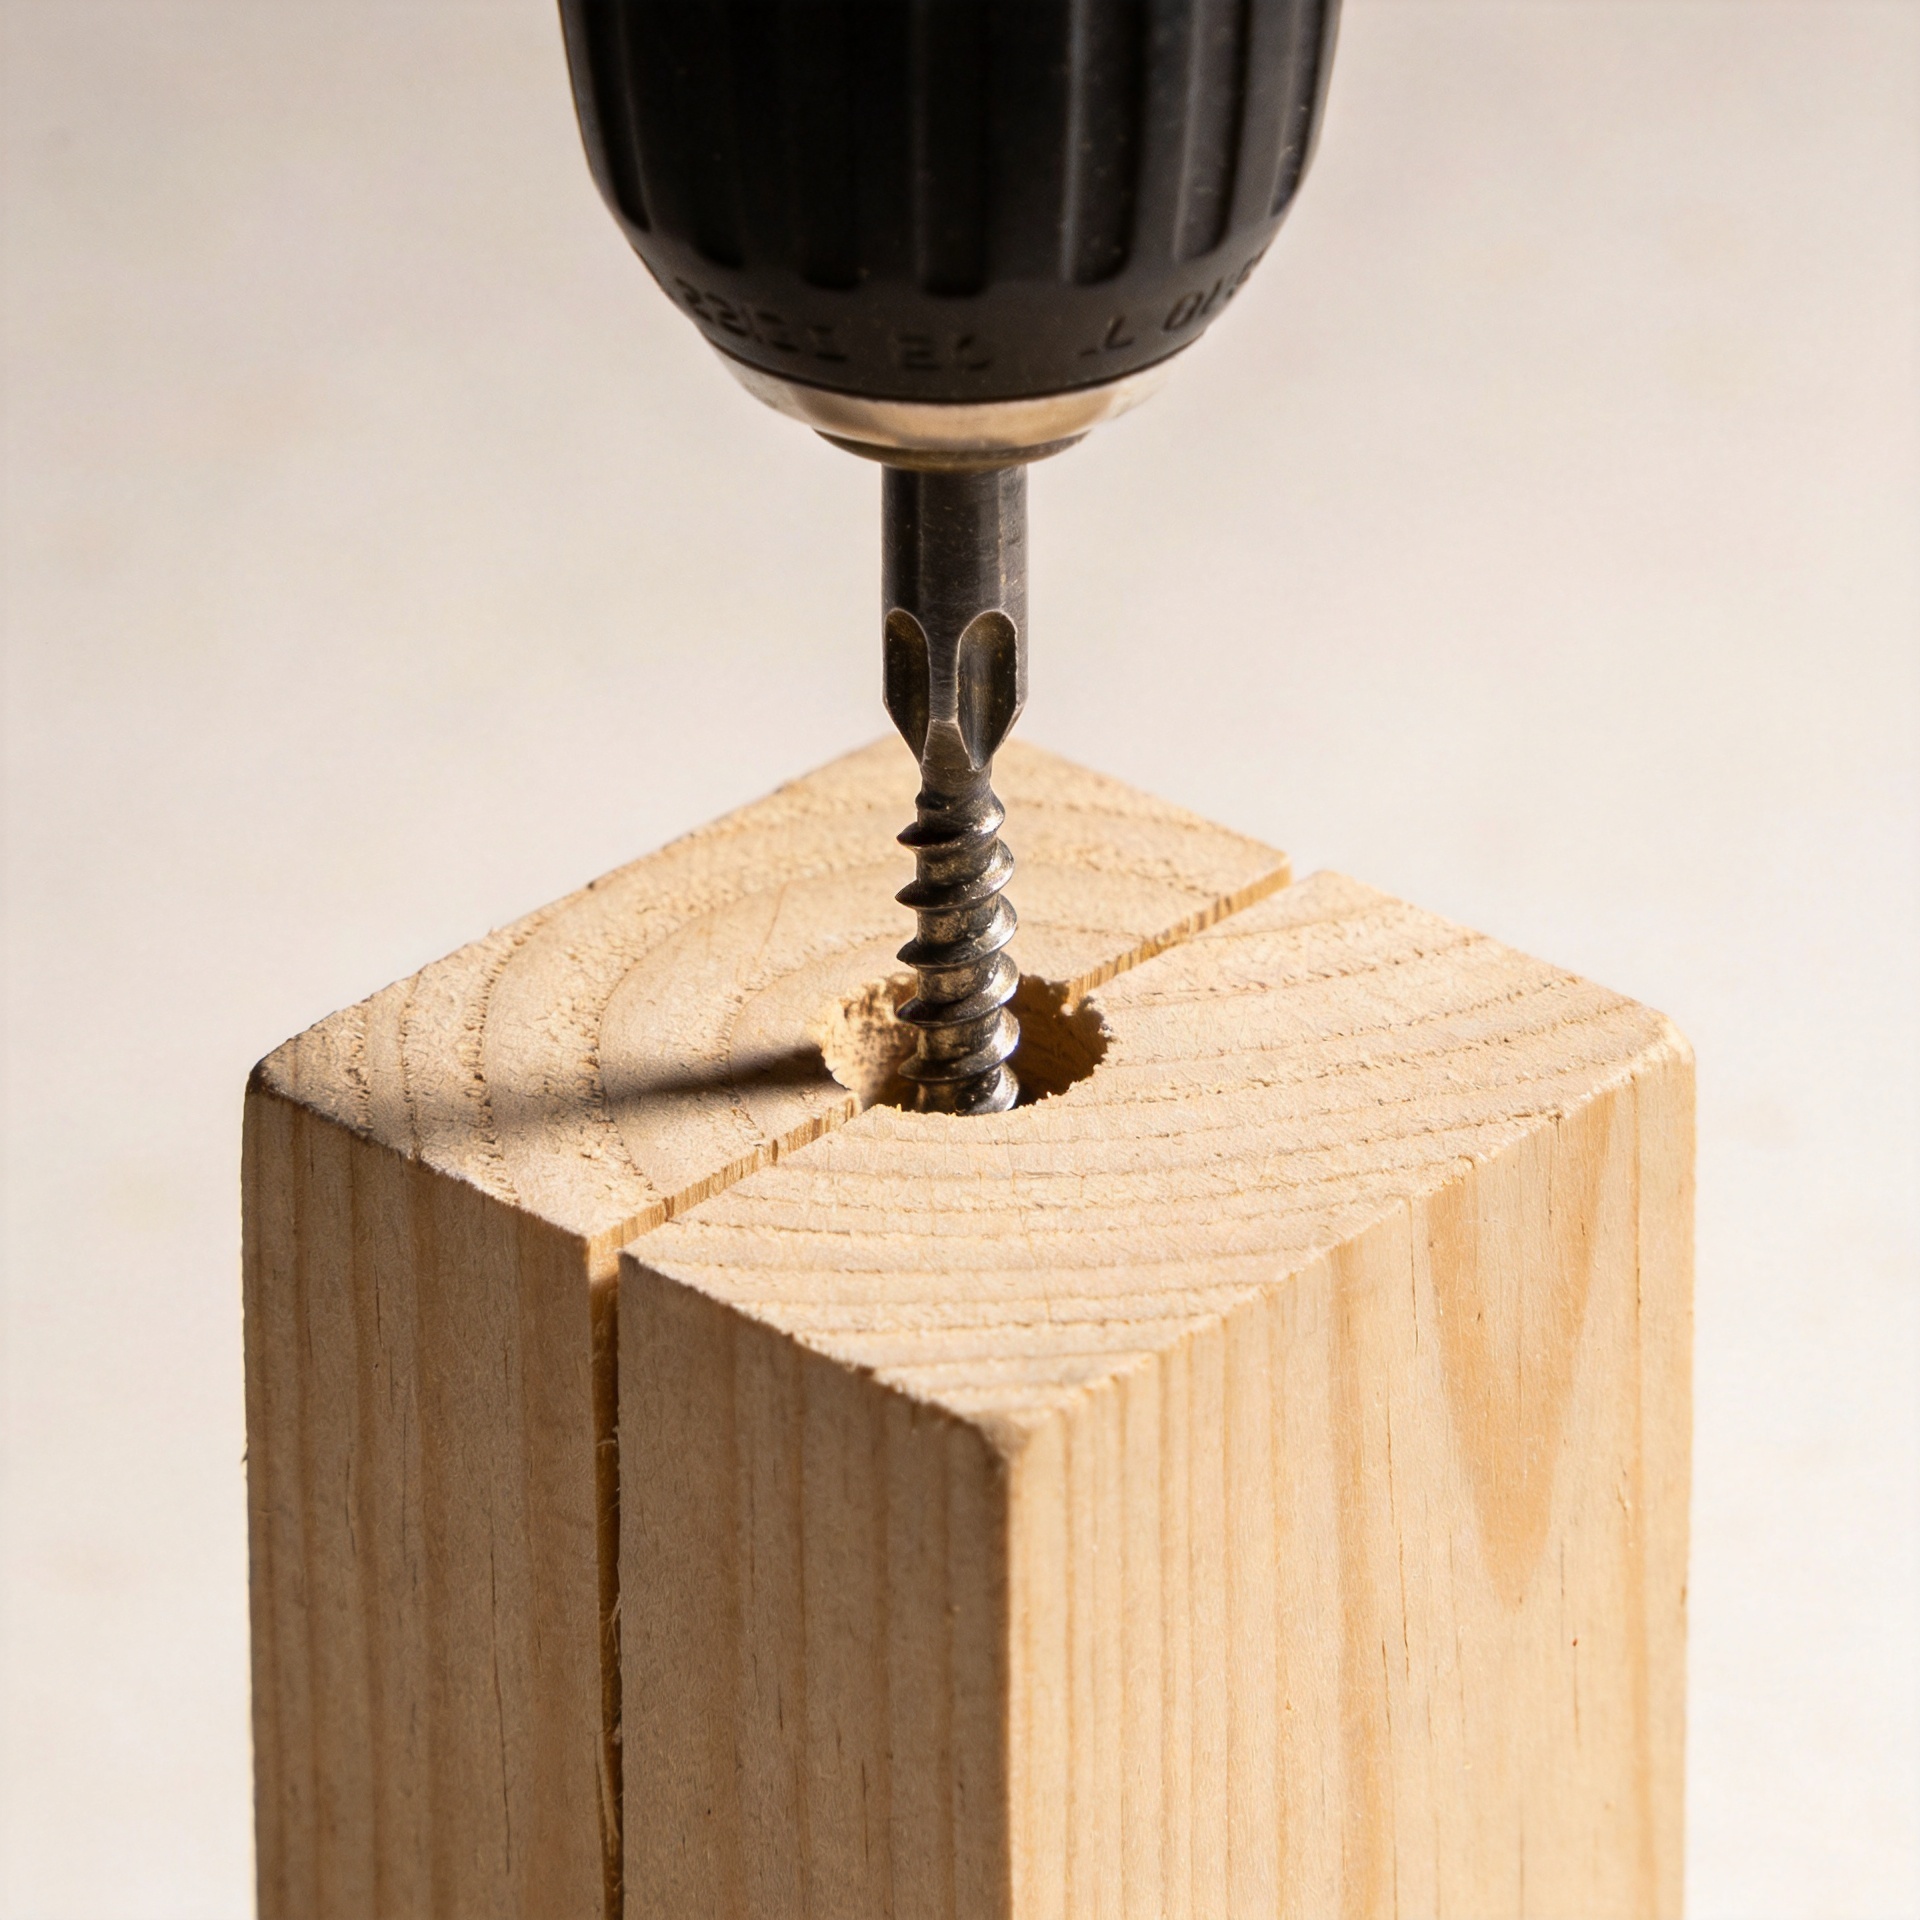
A pilot hole is supposed to make a screw easier to drive. When the wood still cracks, the hole is often too small, too shallow, too close to an edge, or paired with more driving force than the joint can tolerate. The useful fix is not simply “use a larger bit.” It is to match the hole, the screw, and the wood condition so the threads can bite without acting like a wedge.
From a fastening-selection perspective, start with the load, the wood species, and the location of the fastener. A screw that works smoothly in a pine face board can split dry oak or a narrow strip of hardwood at the same setting. A small test piece is faster and less costly than repairing a visible workpiece.
Why wood splits even when you drill a pilot hole
As a wood screw enters, its tapered point and threads displace fibers. The surrounding wood needs room to compress or move. If the pilot hole leaves too much material for the shank to force aside, radial pressure builds until the wood opens along the grain. End grain, thin stock, knots, very dry lumber, and locations near an edge have less capacity to absorb that pressure.
The hole can also fail because it is the wrong kind of hole. A pilot hole guides the threaded portion; a clearance hole lets the unthreaded shank pass through the first board. In a two-board joint, omitting the clearance hole can make the upper board grip the screw while the lower board has not pulled tight. Continued driving adds friction and stress instead of closing the joint.
Size the pilot hole from the screw core, not the thread tips
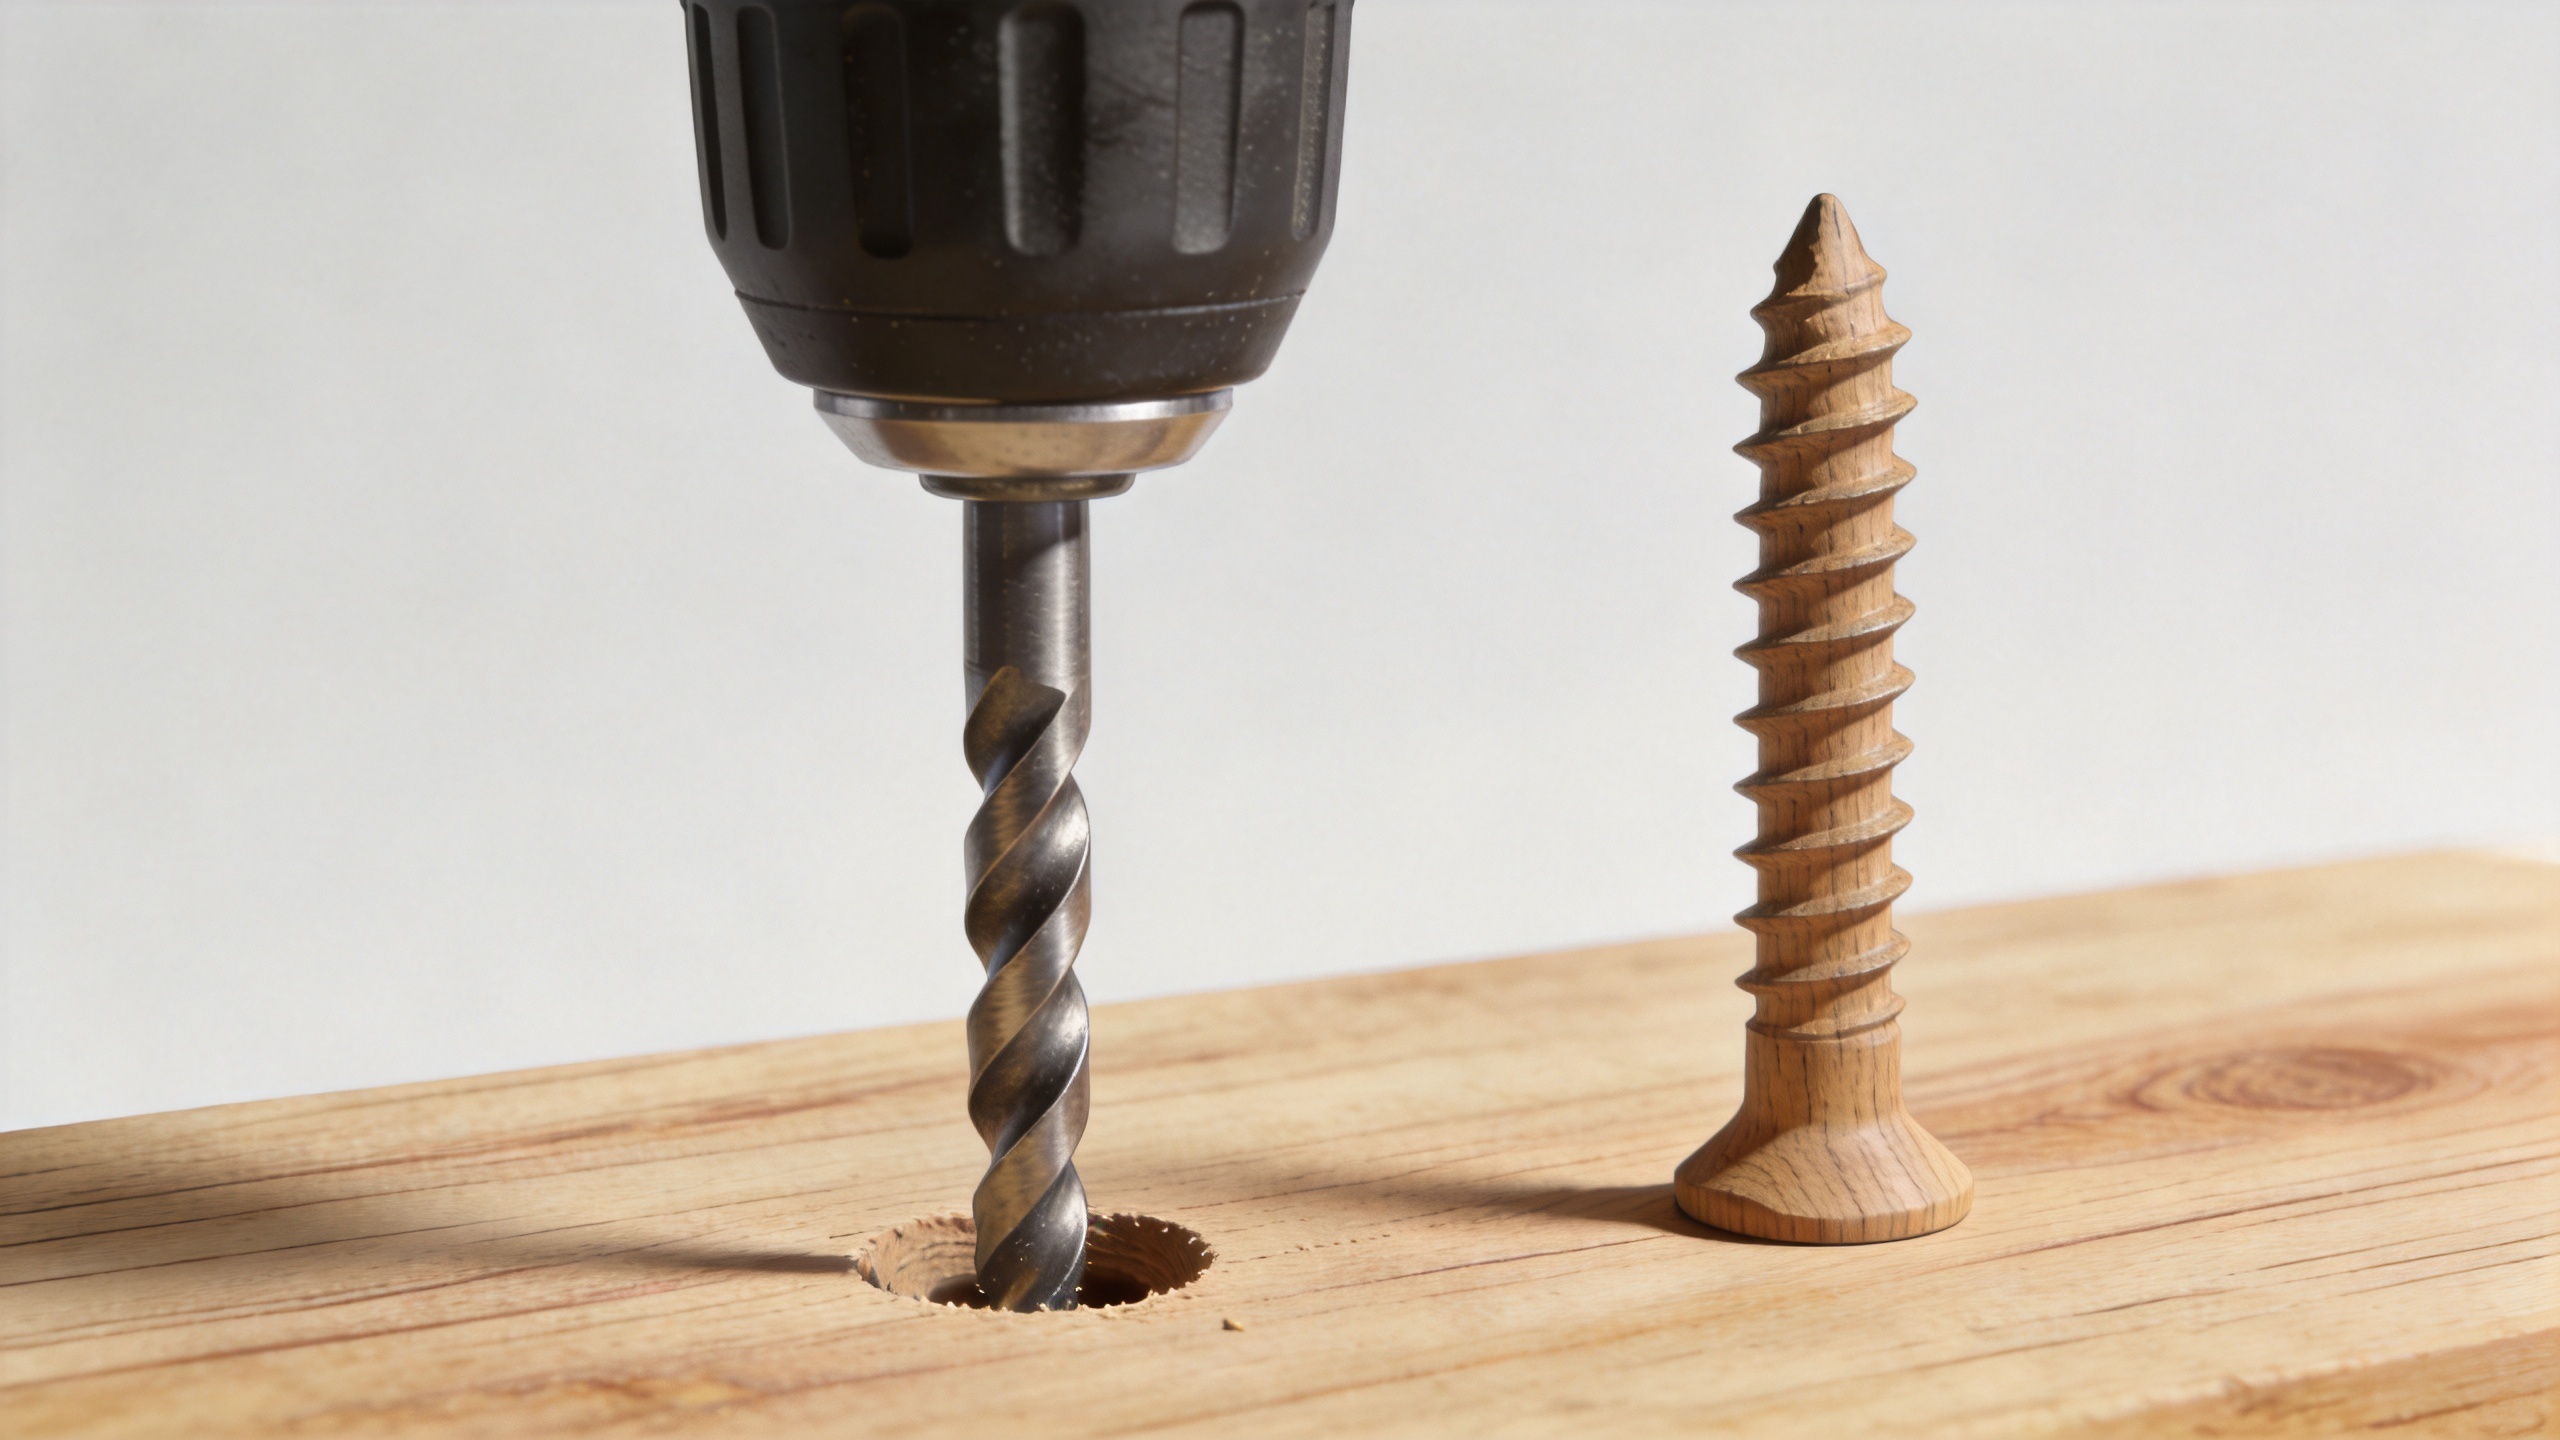
Use the solid core of the screw—the diameter inside the threads—as the starting reference. In softwood, a pilot near the core diameter often leaves enough material for strong thread engagement. In dense hardwood, increase the pilot modestly because the fibers resist displacement more strongly. For illustration, one published drill-bit guide lists a 3/32-inch bit for a #8 wood screw in softwood and 1/8 inch in hardwood. Treat that as a starting point rather than a universal chart: screw geometry, wood moisture, and the joint location all matter.
Make the pilot at least as deep as the threaded length that will enter the receiving piece. A shallow hole lets the screw point reach undrilled material and recreate the same wedging load near the bottom. If the joint needs a countersunk head, drill or cut the countersink separately; forcing the head to excavate its own seat can start a surface crack.
Read the test hole before committing
- If the screw requires heavy force from the first few turns, move up one bit size for a trial.
- If the threads spin without pulling the pieces together, the pilot may be oversized or the wood fibers may be damaged.
- If a crack begins at the edge, revise the location or reduce the screw diameter as well as adjusting the hole.
- If the screw stalls partway through hardwood, deepen the pilot and check for a dull bit or damaged threads.
Use a clearance hole when the joint needs clamping force
For two pieces of wood, drill a clearance hole in the top board that is roughly the shank diameter of the screw, then drill the pilot in the receiving board. This lets the head pull the upper board down instead of creating a gap between the pieces. It is especially useful for face frames, cabinet parts, and hardwood assemblies where a wood screw must draw stock together cleanly.
A machine screw is different: it is normally designed for a threaded metal insert, nut, or tapped hole rather than direct wood threads. If a project uses a machine screw with an insert, follow the insert maker’s drilling diameter and installation method. Do not substitute a wood-screw pilot chart for an insert hole.
Control location, grain direction, and driving torque
Hole size is only one control. Place the screw far enough from edges and ends for the wood section to remain intact. Exact spacing depends on species, stock thickness, and load, but the warning signs are consistent: a narrow rail, a screw aimed into end grain, or a fastener beside a knot deserves a test hole and lower torque.
- Mark the location and use an awl or brad point to keep the bit from wandering.
- Drill straight, clear chips periodically, and make the pilot to the intended thread depth.
- Add a clearance hole in the first workpiece when the joint needs to pull closed.
- Set the driver clutch low, start the screw square to the surface, and increase torque only as needed.
- Stop if resistance rises suddenly; backing out the screw and correcting the hole is preferable to forcing it through.
For a self tapping screw used in wood, do not assume the point removes enough material on its own. Some designs cut aggressively, while others mainly form threads by displacement. Dense stock and critical visible faces still benefit from a properly sized pilot. A hex screw or hex-head wood fastener can apply more torque than a small driver bit, which makes clutch control and pilot depth even more important.
Match the screw type to the job
A coarse-thread wood screw is usually the logical choice for ordinary solid wood because its thread form is intended to grip fibers. Select a length that reaches sufficient depth without exiting the opposite face. A screw that is too large in diameter for thin stock will continue to create splitting pressure even after the pilot is improved. Conversely, choosing a smaller fastener may be reasonable only if the joint load and withdrawal requirement still suit it.
A suitable low-friction coating or purpose-made lubricant can reduce driving friction in dense hardwood, but use it sparingly and only where the joint design permits it. Lubrication does not correct an undersized pilot, poor edge distance, or a misaligned screw. It simply lowers friction while the threads form their path.
A practical troubleshooting sequence
When a pilot hole splits wood, inspect the failed piece before making another attempt. Look at where the crack started, compare the bit to the screw core, and check whether the pilot reached full depth. Then test one change at a time: slightly enlarge the pilot, add a clearance hole, move the location inward, reduce the screw diameter, or lower the driver torque. Changing every variable at once makes it hard to learn which condition caused the failure.
The dependable approach is a matched system: appropriate screw geometry, a pilot sized for the wood density, room around the fastener, and controlled installation force. That process helps you build cleaner joints while retaining the holding power your project needs.

